The Mother Lode

Crafts and Crochet

  • Home
  • Crochet Pattern Library
  • Faith Based Patterns
  • About Me
  • Privacy Policy

November 13, 2020 by Priscilla

5 Great DIY Gifts Under $5

Okay, Christmas is coming and you need some DIY gift suggestions. I got you covered! I think there are many DIY gifts that you could give someone that are very inexpensive, EASY, and thoughtful. Personally, I love being creative and figuring stuff out with my craft supplies, but I know fooling around with items like that isn’t everyone’s cup of tea. BUT. Everyone has the ability to create. It doesn’t have to be a masterpiece to be made with intention and love! Allow me to give you some ideas that are easy and FUN.

Crochet (or knit) Hat
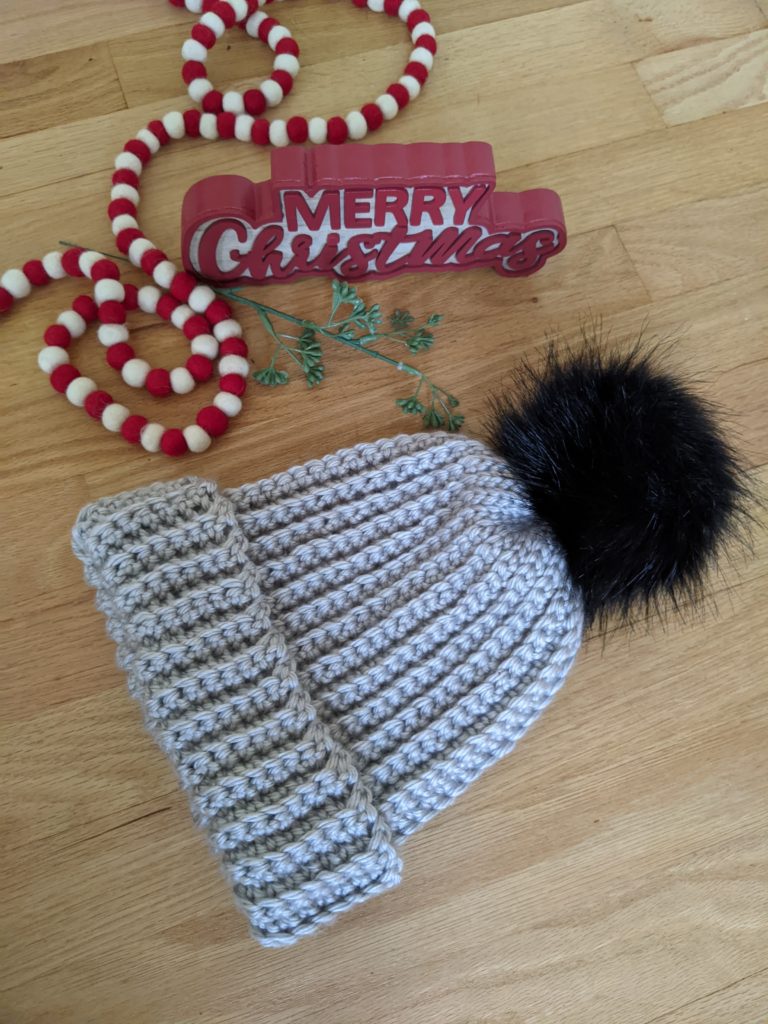
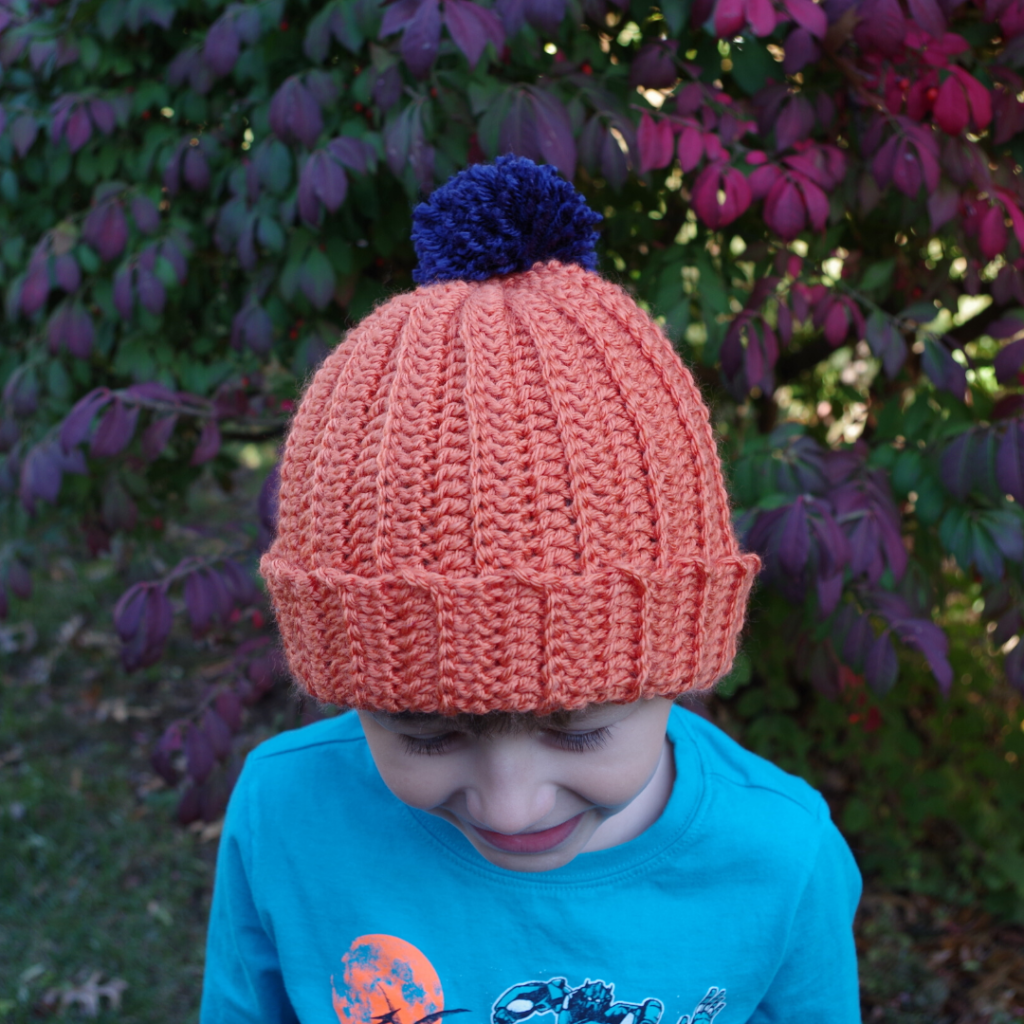
Basic crochet and knitting supplies are inexpensive and pretty accessible. Personally, I’m a Michael’s junkie, but JoAnn Fabrics sometimes lures me in, too. Walmart carries some craft supplies, and for a complete beginner, this is my suggestion. Grab this crochet hook for less than $1.50. It’s tricky to see their yarn selection online, but I’m sure you could find some yarn as low as $3. Here is a nice Lion Brand Hometown for less than $3 that makes a good hat, is easy to work with and has a variety of colors. Choose a color that your loved one likes and you can definitely make them a nice simple hat. This pattern by Make and Do Crew is an amazing beginner pattern. You’ll need to learn 2 very simple stitches, and you can totally make it! (there are TONS more crochet patterns everywhere on the internet, Pinterest is a great resource for them.)

Polymer Clay ANYTHING

People of the world: polymer clay is so cool. I got some last year to make a topper for my son’s birthday cake of a random Pokemon character, and it was fun and easy to cure. We used the leftovers to make Christmas ornaments and they turned out SO great. You could buy 2 colors for about $4 at Michael’s (less if you’ve got a coupon.) It can be used to make earrings, Christmas ornaments, little figurines, pen toppers, coasters, so many possibilities.

Painted Glassware

Get out the paint! One year, I painted a bunch of globe shaped candle holders for people as gifts. I think they were right about $7 each, but they were pretty large. Michael’s has a few options that are less than $5. Dollar stores usually carry a few glass items, too. It doesn’t have to be a fancy design! Just paint with colors the person likes, maybe use some tape to make stripes. Use a cotton swab to make polka dots.

Christmas Ornaments

One of the most fun to DIY, and particularly inexpensive if you are making several for someone. Michael’s is my suggestion again for materials like these glass ornaments. You could buy glue and glitter to add inside, or paint the outside. I remember dropping paint inside and swirling it around when I was little with my mom. The possibilities are pretty endless honestly, and if you are on a budget, dollar stores often have some basic craft supplies.

Plants

Air plants and succulents are still very popular! They aren’t too expensive and would make a great simple DIY gift. There are a few options at Lowe’s and Walmart. Paint a tiny ceramic pot and pop a little plant into it! Paint your friend’s name, put a simple stars, stripes, or polka dot design on it and call it a day!

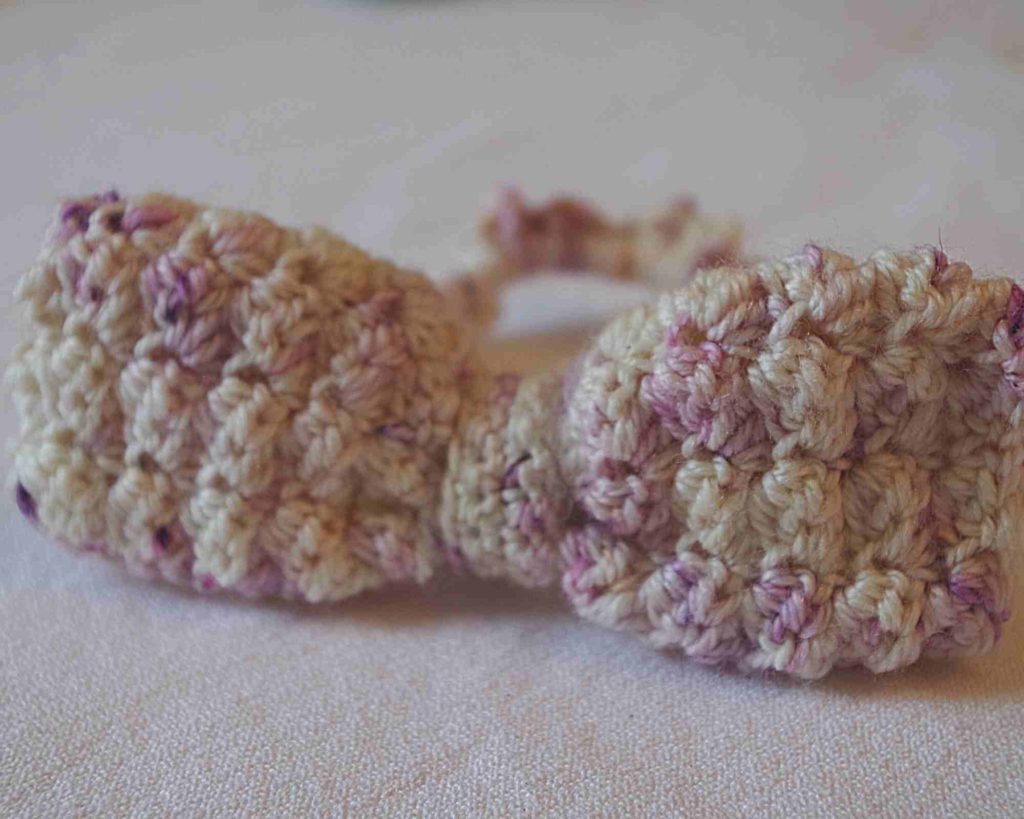
Well, I am off to work on some crochet gifts for my people! Here are some of my crochet patterns that would make nice gifts, and the baby hat is very easy if you are a beginner. Just click the photo and you’ll hop right to the pattern!
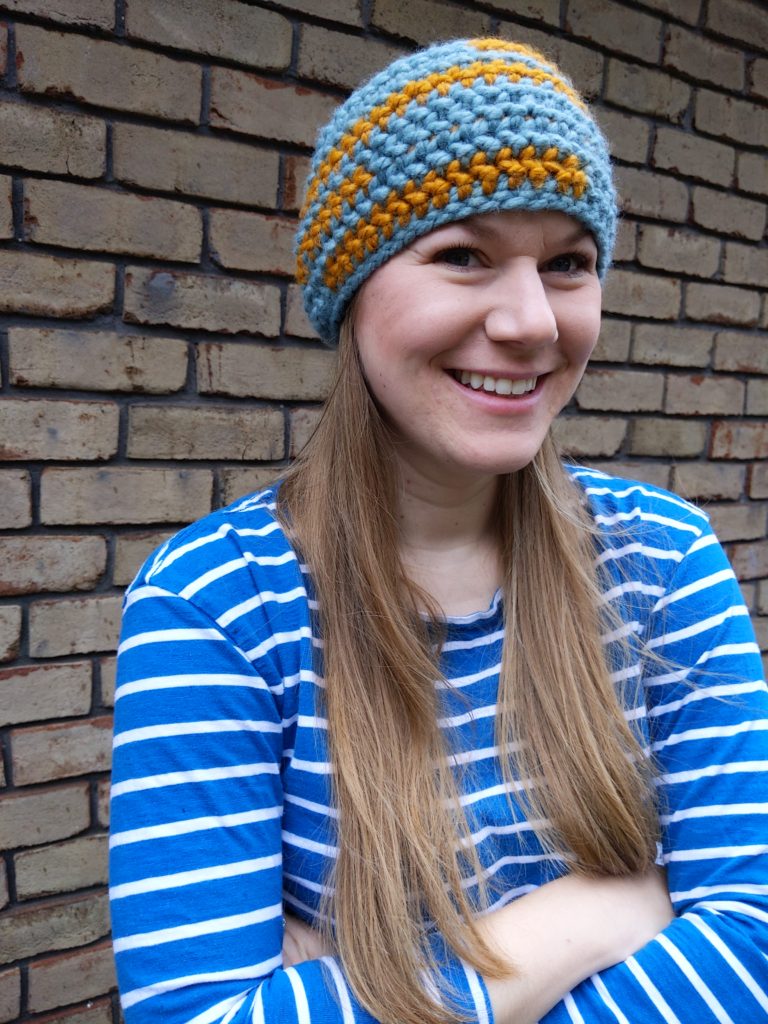
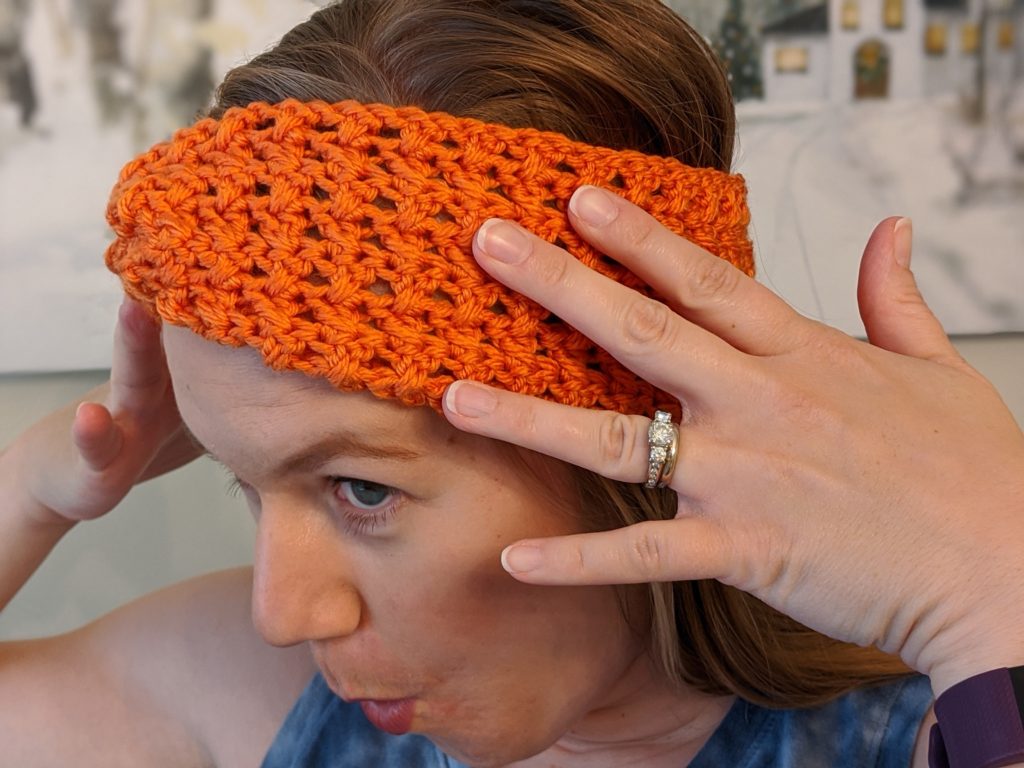
Funky Chunky Headband
Hairbow Scrunchie
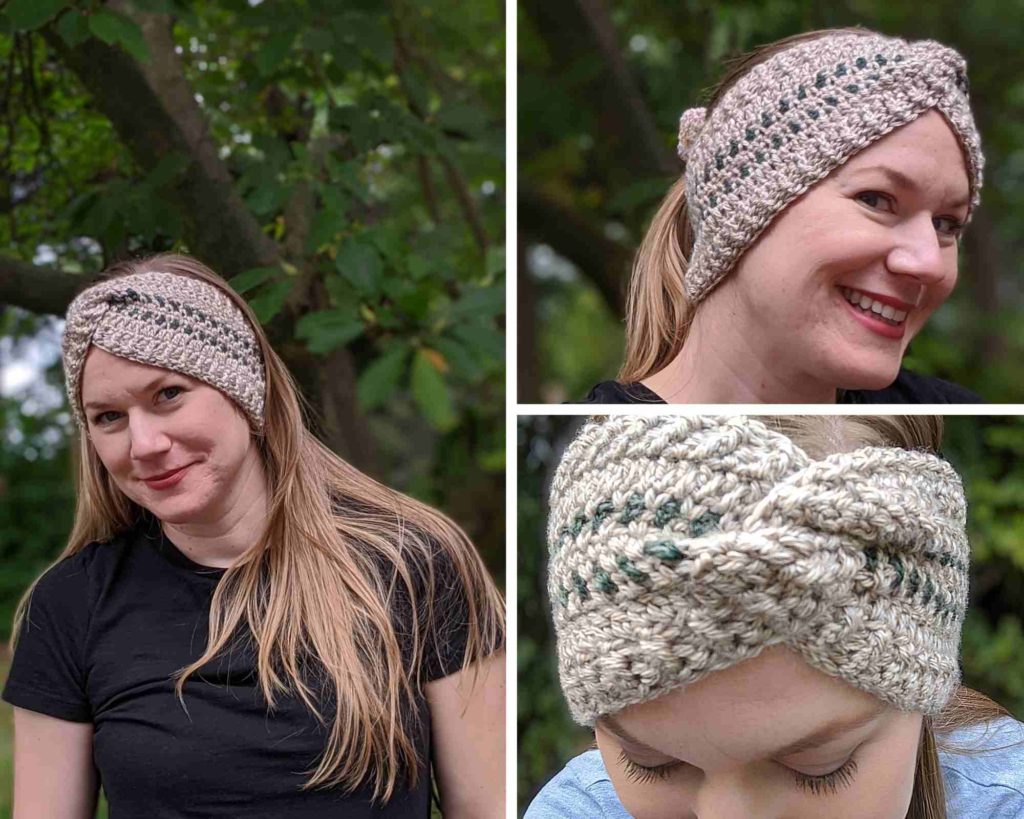
Almost Stripes Ear Warmer
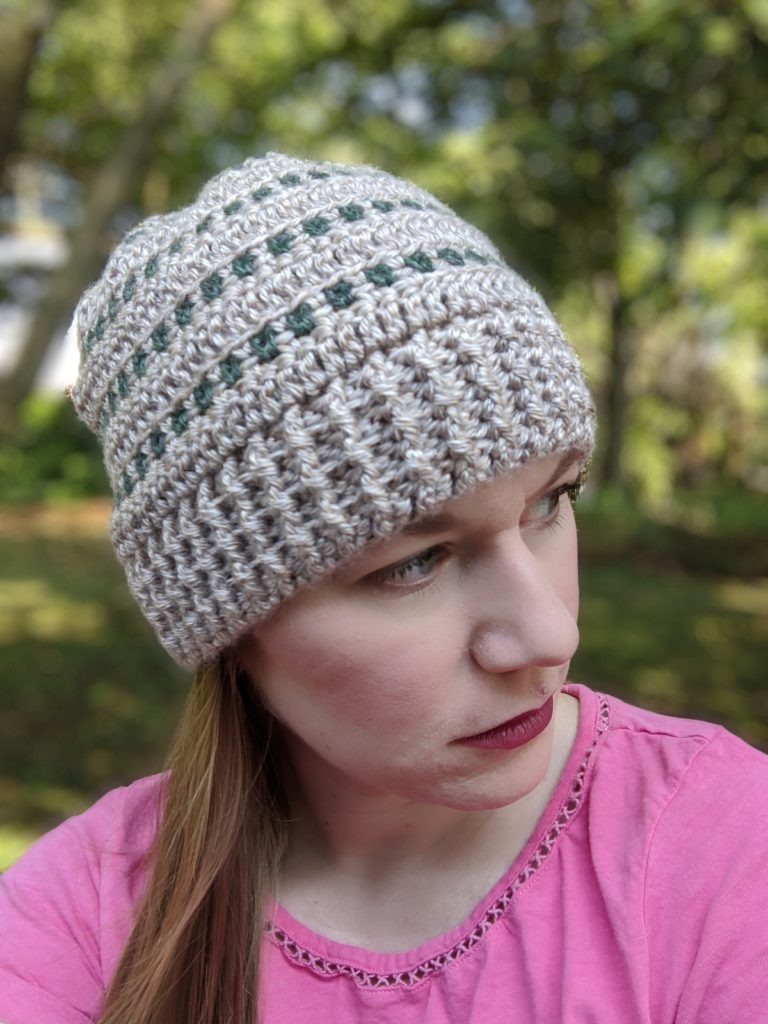
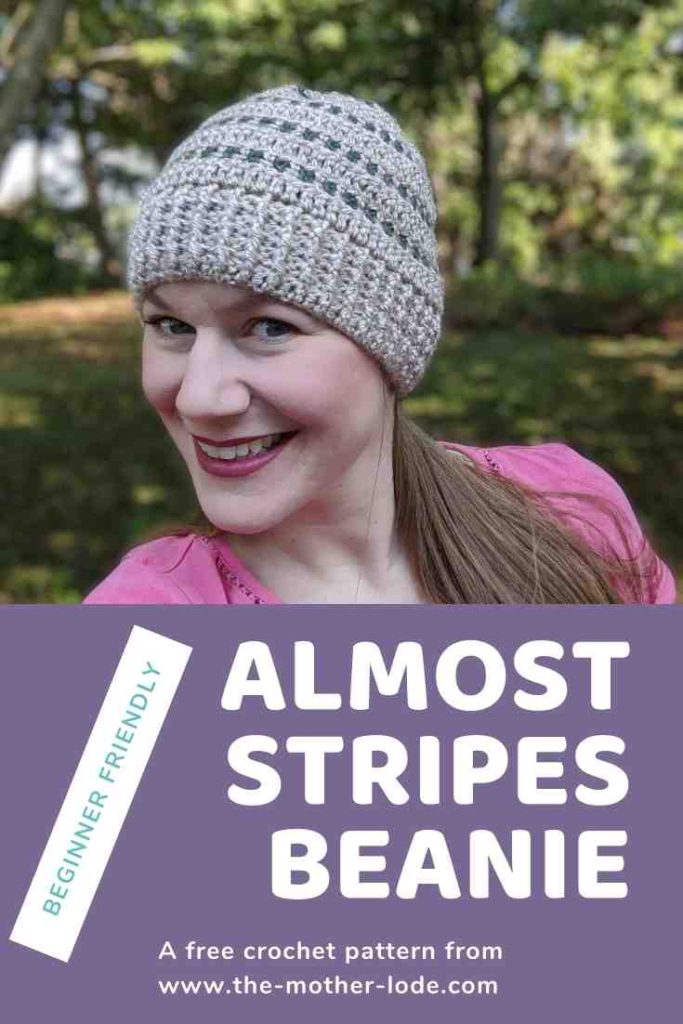
Almost Stripes Beanie
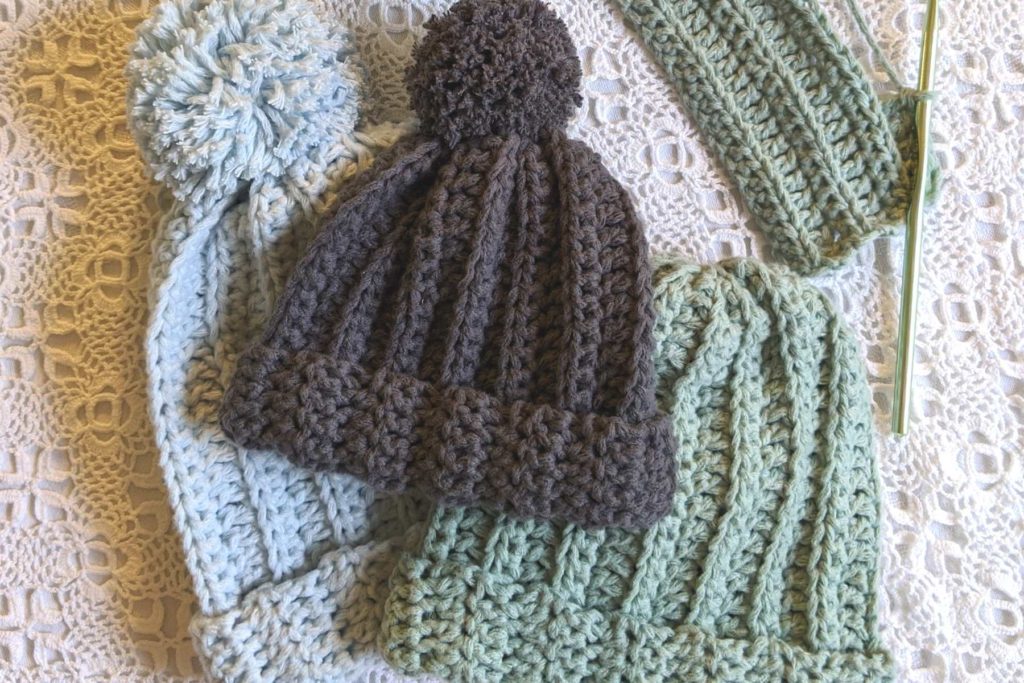
Simple Ripples Baby Hat

October 6, 2020 by Priscilla

All Saints’ Day Activity Pages

I’ve got some other crochet and crafty things coming soon, but for now, one more thing about All Saints’ Day!

My son’s preschool teacher asked the families for ideas to celebrate All Saints’ Day with the children. Of course, I headed to Pinterest as I knew I could find some good saint coloring pages there. I found some to represent the classroom’s patron saint for this year. There are many different saint coloring pages, but not many that are more interactive than coloring, especially not for preschoolers.

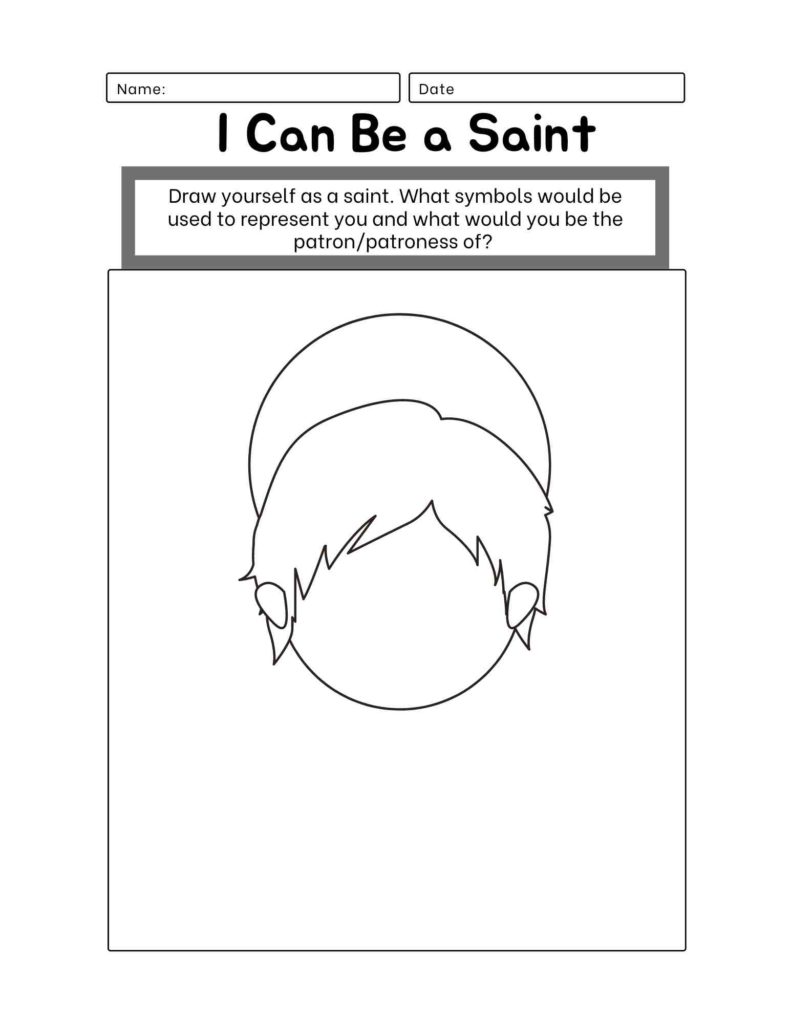
So I decided to fire up Canva (the program I use for graphics, printables, and photo tutorials.) I ended up making two similar activity sheets. One is for the children to plan their saint costume. They can add the things they are planning to wear to represent the saint to a plain, haloed face. The second sheet is to imagine what they could do to become a saint. What kinds of things would represent their good works? What would they become a patron of?

All Saints’ Day is a beautiful opportunity to enrich our children’s lives with stories of the saints. Often, though, there are parts of those saints’ lives that are difficult to convey to little children. There are some great books out there to help you, though! Our favorite is Saints on the Go by Chantal Baros. I can’t find it in print anywhere, but you can check the author’s website for other saint books, saint dolls, and coloring pages. Another popular saint book is Saintly Rhymes for Modern Times. I’m debating ordering it myself right now! It has mostly modern saints like Padre Pio, St. Teresa of Calcutta, and St. Gianna Molla. Two other good ones are Girl Saints for Little Ones and Boy Saints for Little Ones by Kimberly Fries.

These two printables have been added to my printable library! Sign up for my email list below to access my library!

Welcome!

My name is Priscilla and I primarily write crochet patterns here on my blog called The Mother Lode. I’m also a Catholic mom, and I like to create Catholic printables and crochet patterns as well! Sign up here for access to my printables library and for future Catholic crafty patterns, ideas, and printables.

Thank you!

You have successfully joined our subscriber list.

I love making my kid’s All Saints’ Day costumes! Do you? Head over to my Costume Guide for All Saints’ Day! It has ideas and tips for DIY and store bought.

October 3, 2020 by Priscilla

Saint Costume Guide

for your kid’s All Saints’ Day costumes

Many Catholic schools over the years have transitioned into doing Halloween dress-up a bit differently! Our school has the children dress up as their favorite saints to celebrate All Saints’ Day, which is on November 1st. The feast day celebrates all those who have attained heaven and we especially celebrate those honored by the Church for giving wonderful examples of Christianity to us!

Often people misunderstand Catholicism in that they perceive our reverence for saints (especially Mary) as worship. That is not the case, though, when we ask for saints’ intercession, we are simply asking the saints to pray for us to God, because in their holiness they are close to Him.

Okay, enough theology, back to the fun! I don’t love sewing, but I DO love sewing Halloween costumes, which means I also love sewing saint costumes! That being said, saint costumes do not have to be complicated to be a good representation of the saint. Additionally, if you have multiple children in Catholic school, many items can be re-used from year to year to display different saints.

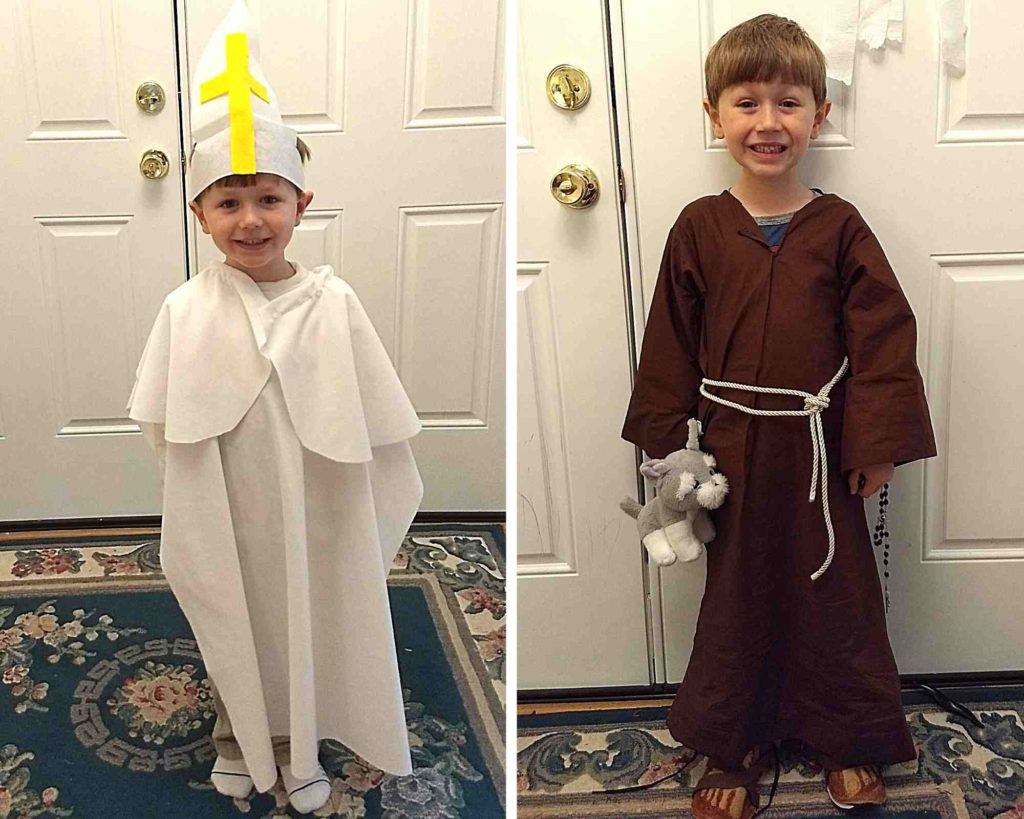
Here are the costumes I’ve done so far:

For Saint Pope John Paul II, I waited until the last minute and threw together this costume the night before! The white fabric was a knit, slightly fuzzy fabric so I was able to leave the ends unsewn. Keep that in mind if you head out to Joann Fabrics! I basically cut a small hole and slit in the middle of a long rectangle of the fabric and used velcro to attach at the back. Then I made a capelet which also attached with velcro. The papal mitre was made with yellow felt and stiff interface fabric.

For St. Francis of Assisi, I made a brown friar’s robe, which I’m sure I’ll be able to use for another saint as well in the future. I bought some rope trim to use as a belt and attached a stuffed animal wolf to the side with some velcro. The final touch was the little felt feet! St. Francis is always depicted barefoot or with sandals, so I formed the tan felt over top of his sneakers, drew the foot with a Sharpie marker, and used some elastic to secure it around his sneakers. A simple black rosary completed this costume!

DIY with some sewing

Here are my suggestions if you have a sewing machine and a little bit of time to make some garments.

  • Buy fabric at the craft store that does not have to be sewn at the edge. Fleece, knits, and velvet are great options that won’t require sewing the edges/hems. This way you can sort of drape fabric around your child to form the costume, then attach it either with a little bit of sewing, hot glue, or stick on velcro. Knit fabric can be difficult to work with if you are going to do actual sewing, though, so keep that in mind.
  • Stick on velcro can help you to create closures in the costume.
  • If this is for a preschooler or kindergartner, you may be able to use an xl t shirt for some kind of robe.
  • Felt is easy to use with hot glue and can be cut to make simple shapes that help define the costume. (like making a cross or stripes)
  • A headband and cloth can be easily used to make a religious habit if your saint was a nun.
  • Here are some tutorials for creating robes, capelets, and gowns: robe with hood, cape with hood, cape (no hood), I tried to find a free gown pattern for you, but I couldn’t! Here is a nice one you can buy, or if I had daughters, I would take the longest dress they have and lay it on top of my piece of fabric folded in half. Then cut about an inch and a half around the dress carefully and sew the pieces together, making the bottom longer if necessary.

No Sew Costume Ideas

I get it, sewing isn’t your favorite and you don’t have time to go to the craft store. What can you pick up from the Target Halloween aisle or order from Amazon? Here are a few ideas that include things you may even already have that you can use to create a saint costume:

  • St. Michael the archangel: warrior shield and breastplate and wings (hot glue + cardboard + a bag of feathers and I bet you could make some in 25 minutes) maybe even a scale
  • St. George: Suit of armor / warrior breastplate and a stuffed animal dragon
  • St. Joan of Arc: suit of armor/warrior breastplate, red cape/dress, flag with fleur-de-lys on it
  • St. Kateri Tekakwitha: a Native American costume and a small, wooden cross
  • St. Gianna Molla: a doctors coat and cross necklace
  • St. Elizabeth of Hungary: queen’s dress, crown, basket of bread
  • St. Maximilian Kolbe: striped pajamas, round glasses, book
  • St. Francis of Assisi: brown jedi robe costume (friar’s robes) with some kind of belt and a wolf
  • St. Anthony of Padua: brown jedi robe costume (friar’s robes), baby doll with halo (the Christ child) and lilies
  • St. Padre Pio: brown jedi robe costume (friar’s robes), gloves with cut off fingers to cover the stigmata
  • St. Lazarus: torn clothing and sores (maybe use some makeup?) with a crutch and stuffed animal dogs
  • The Blessed Mother/St. Mary/Our Lady of Lourdes/ Our Lady of Guadeloupe, basically all the ways to honor the Queen of Heaven: WALMART HAS SEVERAL MARY COSTUMES YOU CAN BUY. I would get that and add things to it to make it a specific Marian devotion: Our Lady of Fatima: gold and white crown and gold rope belt, maybe a sacred heart on the chest; Our Lady of Lourdes: blue sash, rosary, holy water; Queen of Heaven: crown and scepter; Our Lady, Undoer of Knots: long, knotted rope.

My last bit of advice in this guide is to use Google Images. Google the saint your child wants to be and look through all the different images of that saint. See how he/she is usually depicted and think about what things you have that could be used in your child’s costume. Also check this 2014 post from Catholic All Year to show you 150+ kid saint costumes. It’s very inspiring!

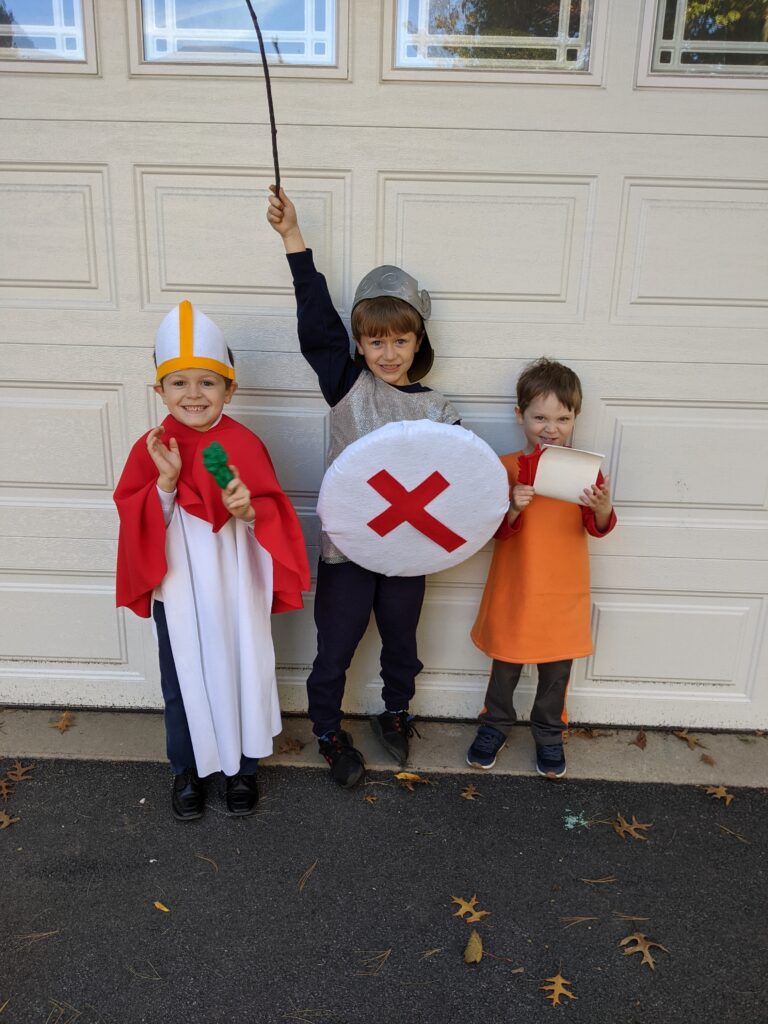
My kiddos costumes in 2021: St. George, St. Mark the Evangelist, and St. David of Wales

Update!!! I’m so happy to see this post viewed over and over throughout the month of October! I mostly write crochet patterns, and had the (I think) brilliant idea to include some crochet ideas for Saint costumes! So I have a new guide for crochet Saint costumes here for that and a new, totally free, crochet pattern here for making a Papal Mitre!

October 1, 2020 by Priscilla

Finding Your Crochet Tribe

I’ve been crocheting for 7 years, but it’s only been about a year since I discovered some wonderful yarn communities online!!!! Basically, I thought there was Ravelry and that was it! I was wrong: there are so many small groups of crocheters and other fiber artists to join and gain inspiration from. If you are a serial Pinterest pattern hunter like I was, you’ve got to get into this action! It’s so much fun, you learn new things, and make connections with people. We all know connecting right now with people is harder than ever, so if you are looking for an online community, look no further! I’ve got a bunch of groups to share with you today so you can grow your crochet skills and make some yarn friends.

Yarn friends are awesome. They don’t judge your stash. They understand your language (sc, dc, knit, purl.) They appreciate the time and effort that went into your creations!!!!! Make some new yarn friends today!

Instagram

First, I discovered the beauty of the crochet community on plain ole Instagram. I tried using Instagram to grow this blog as a mom space in the past and it just didn’t click for me. I never felt like I fit in with other mom bloggers, I didn’t like moms who weren’t real about mom life but I also wasn’t willing to share all the deets of my own mom life (wanting to protect the privacy of my children.)

I completely by chance came upon some crocheters on IG last year and was amazed to find a huge community of crocheters. Why I didn’t think of IG before as a perfect place to share photos of your amazing crochet creations with people who understand them is beyond me. A few months after following crochet accounts, I decided to switch my own Instagram to a crochet account and I’ve loved it ever since. I am deep down the crochet hole and I’m not coming back haha! Some of my favorites to follow in IG that feel like they have awesome communities of followers: Toni Lipsey, Lee Sartori, Jessica Carey, and Amber from Divine Debris.

Facebook Groups

There are some great facebook groups out there for crochet!!!!!! Here are some to look for: Meghan Makes Crew, Relief Crafters of America, and KnitterKnotter Hangout. There are soooo many more. Seriously, type crochet group into the search box and there are many wonderful groups to join. If you are really looking for community, pick a smaller one. If you like seeing more ideas and trends, pick a larger one! All of these have different things going on, and some I am very active in, while others I just peek at once in a while to see what’s new. Check them out and see which one feels like your tribe!!! Relief Crafters is really cool, you can sign up to donate all kinds of crafts to charities across America.

Ravelry and LoveCrafts

Ravelry and LoveCrafts both have free patterns and patterns to purchase. On Ravelry, you can buy hand dyed yarn from many independent dyers, and on LoveCrafts, you can get many name brands of yarn from around the world. They also can offer a community feel, especially the forums on Ravelry. If you’ve never looked past a few free patterns, think about utilizing all the tools these sites have to offer to learn new things and meet new people.

ME!!!!

I’m happy to be your yarn friend! Follow me on Instagram, check me out on Ravelry and LoveCrafts!

August 18, 2020 by Priscilla

Almost Stripes Beanie

I’m still here making all the hats! I just love a quick project, because, as a stay at home mom, so much of my “work” is stuff that never feels completed: laundry, dishes, weeding the garden, etc. Crochet is something I can do in the evenings or during play time and get a sense of accomplishment from. I like expressing creativity through it, but the completion of it is something that really fuels me. So I am a big fan of hats and ear warmers that I can finish in a couple of days. One of my new favorites is crochet earrings, which are even faster! Make sure you sign up for my email list, because a pattern for those will be coming in the future, too! It’s so cute, you don’t want to miss it!

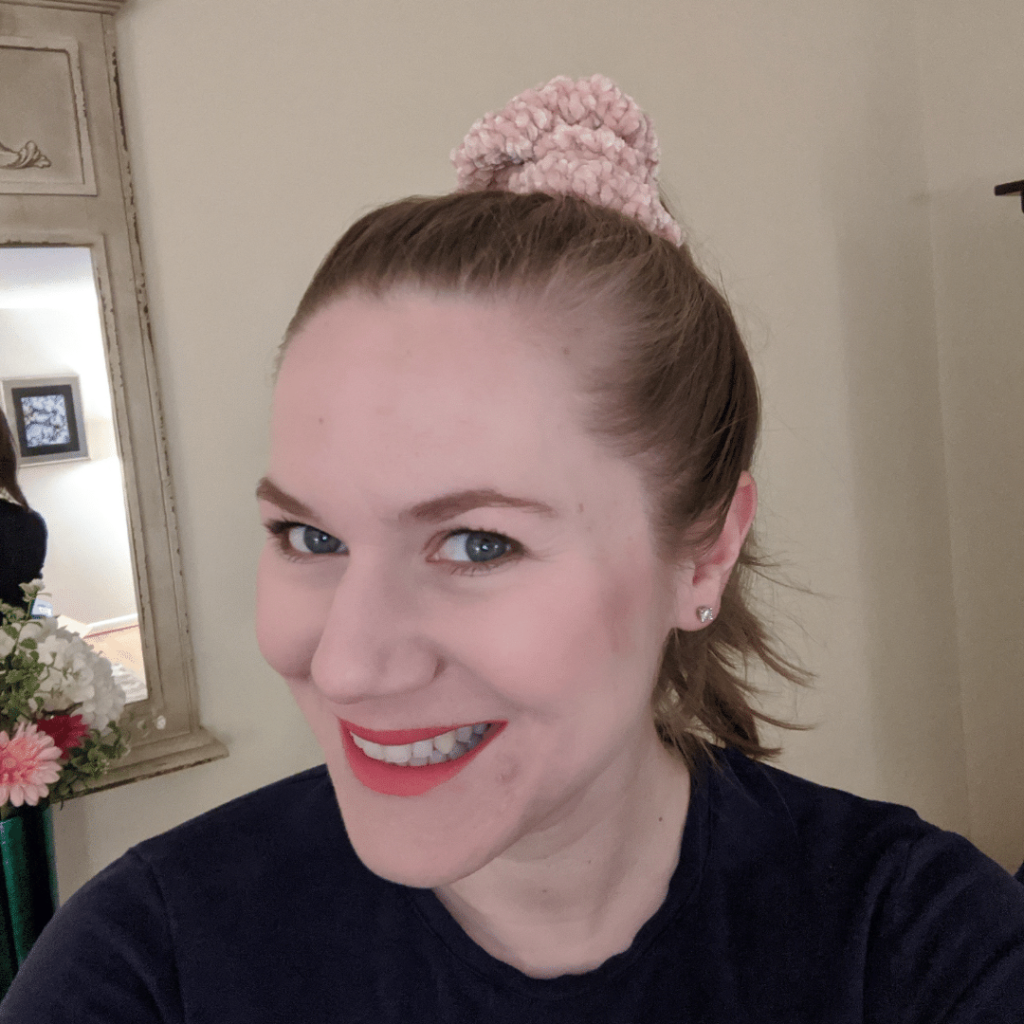
Back to today: I’ve got the Almost Stripes Beanie crochet pattern for you! This one is a little more complicated than my first pattern, because there are color changes and a few different stitches. I created it to be another rectangle that is seamed and constructed, though, so if you are not ready for crochet in the round, you can tackle this hat! I graded this hat to include 7 sizes, which was a challenge! I am not a fan of math in any way, but I managed. I know often people tease about the necessity of math in high school. I’m sure I said probably several times: “When am I ever going to need to know this?!” Well, the answer to 15 year old me was, “When you grow up and want to design your own crochet patterns and you have to multiply and divide and do percentages to figure out the stitch counts and yardage.” I didn’t even beg help from my scientist husband for the stitch counts. How about that?! 


almost stripes beanie pin

Alrighty, keep on scrolling for the pattern! I did make the pattern available for purchase here on Ravelry. You can get the PDF filled with photos and clear guides on each section of the hat for $4. I love being able to print out the pattern so it’s easy to use from the couch! 
Materials

  • Worsted weight (4) yarn (samples are Lion Brand Heartland and Basic Stitch) may use two colors for stripes as written if desired. Color A approx 200-250 yds, Color B approx 30 yds
  • Crochet hooks: 5.5 mm and 6 mm or two hooks needed to meet gauge
  • Scissors
  • Tapestry needle
  • Measuring tape


Gauge: 7 rows of 15 DC stitches = 4 in x 4 in with 5.5 mm hook (If you go up a hook size to meet gauge, you would use a 6 mm hook for the gauge swatch, if you need to go down you will use a 5 mm hook for the gauge swatch.) Alternatively, the length of the brim per size is listed in the notes section. You may complete the first three rows and check for length to match the desired size. 


Abbreviations

  • Ch = Chain
  • DC = Double Crochet
  • HDC = Half-Double Crochet
  • Sc = Single Crochet
  • LS = Linen Stitch (Ch 1, sk st, Sc)
  • FPHDC = Front Post Half-double Crochet
  • BPHDC = Back Post Half-double Crochet
  • DC BLO = Double Crochet Back Loop Only (the loop farthest from you)
  • DC FLO = Double Crochet Front Loop Only (the loop closest to you)
  • st = stitch
  • sk = skip 

Notes

  • The first section has the pattern for the baby/toddler sizes, the second section is the child/adult sizes. 
  • Parentheses indicate different stitch counts for different sizes: {newborn (3-6 months, 6-12 months, toddler)} and {child (teen/adult small, adult medium/large)} These stitch counts do not include the turning chain. 
  • Instructions between * are repeated
  • This hat is constructed by the brim first, the body of the hat is crocheted onto it, then the top of the body has decreases to allow for some shaping at the top. This will create a sort of rectangle-trapezoid shape which will turn into a hat with seaming and gathering.
  • The brim of the hat should be approximately the following in length:
    • Newborn: 11-12 inches
    • 3-6 months: 12-14 inches
    • 6-12 months: 14-16 inches
    • Toddler: 16-17 inches
    • Child: 18 inches
    • Teen/Adult small: 20 inches
    • Adult medium/large: 22 inches

Newborn (3-6 months, 6-12 months, toddler) 

With 5.5 mm hook and color A Ch 55 (61, 65, 71.). 

Row 1: HDC in 2nd st from hook. HDC in each st to end of row. Turn, Ch 1. {54 HDC (60, 64, 70)} 

Row 2: *FPHDC in 1st st. BPHDC in next st.* Repeat * to end. HDC in the turning chain. Turn, Ch 1. {27 FPHDC, 26 BPHDC, 1 HDC (30/29/1, 32/31/1, 35/34/1)}

Row 3: *BPHDC in 1st st. FPHDC in next st.* Repeat * to end. HDC in the turning chain. Turn, Ch 1. {27 BPHDC, 26 FPHDC, 1 HDC (30/29/1, 32/31/1, 35/34/1)}

Row 4: Repeat row 2.

Row 5: Repeat row 3.

Row 6: Switch to 6 mm (larger) hook. DC FLO in 1st st. DC FLO in each st to end of row. Turn, Ch 1. {54 DC (60, 64, 70)}

Row 7: sk 1st st, Sc in 2nd st. *Ch 1, sk next st, Sc* Repeat * to end, with the last Sc in the turning chain. Turn, change to color B, Ch 1. {27 Sc, 26 Ch (30/29, 32/31, 35/34)}

Row 8: sk 1st st, Sc in next Ch 1 space. *Ch 1, sk next st, Sc in next Ch 1 space* Repeat * to end, ending with Sc in turning Ch. Turn, change to color A, Ch 1.{27 Sc, 26 Ch (30/29, 32/31, 35/34)}

Row 9: Repeat row 8, without changing colors. {27 Sc, 26 Ch (30/29, 32/31, 35/34)}

Row 10: DC BLO in 1st st. DC BLO each st to end of row. Turn, Ch 1. {54 DC (60, 64, 70)}

Row 11: Repeat row 7.

Row 12: Repeat row 8.

Row 13: Repeat row 9. 

Row 14: Repeat row 10. (NOTE: For newborn size, skip to row 19 after completing row 14.)

Row 15: Repeat row 7.

Row 16: Repeat row 8.

Row 17: Repeat row 9.

Row 18: Repeat row 10.

Row 19: Switch to 5.5 mm (smaller) hook. Sc in 1st 3 stitches. *Sc 2 tog. Sc next 3 st.* Repeat * to end of row. {44 Sc (48, 52, 56)}


(NOTE: for toddler size, repeat row 19 for a row 20 and 21.) Leave a long tail, fasten off. Weave in the ends of the stripes that are hanging on the sides. Fold hat together with the wrong side facing out (wrong side has the DC near the brim in the back loop away from you.) Use the long tail you left to seam the hat from the top to the bottom with an invisible mattress stitch.  


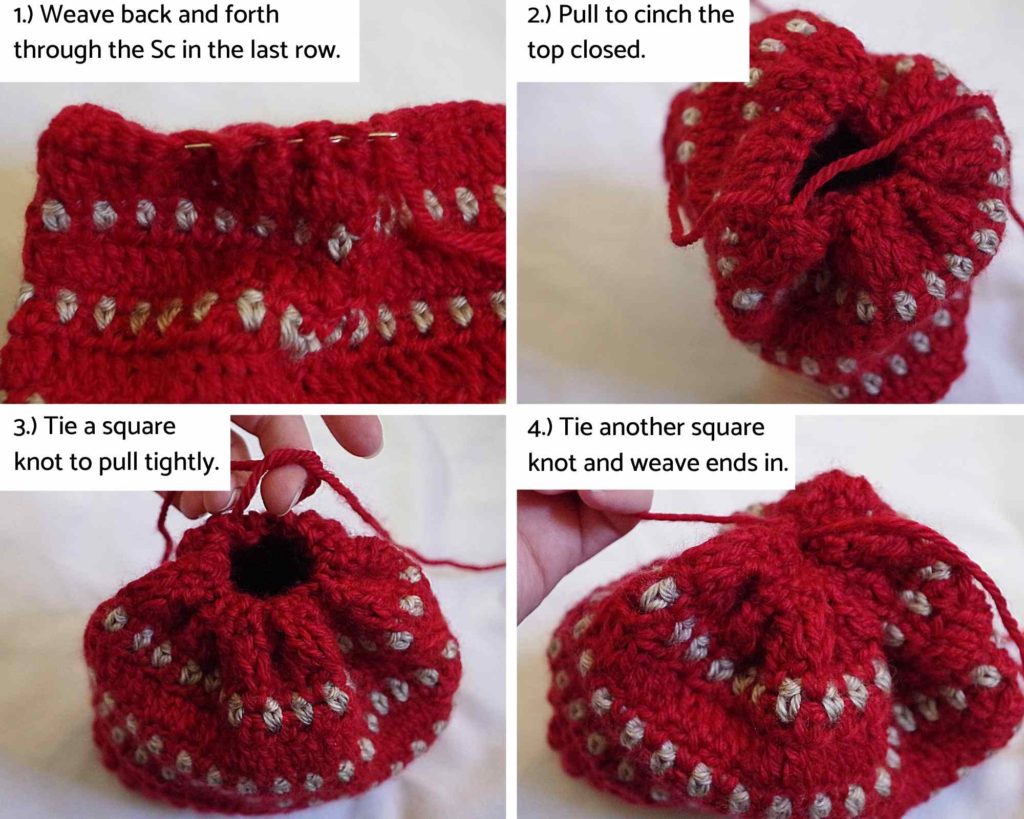
Cut a length of yarn about 10 inches. Weave back and forth through the single crochet at the top of the hat. Pull tightly to cinch the hat together. Tie two or three knots. Put the remaining tails through your tapestry needle and criss cross over the hole a few times if necessary to cover the top. Weave the ends in and cut remaining. Turn right side out.

Child (teen/adult small, adult medium/large)

With 5.5 mm hook, and color A Ch 81 (85, 91) 

Row 1: HDC in 2nd st from hook. HDC in each st to end of row. Turn, Ch 1. {80 HDC (84, 90)}

Row 2: *FPHDC in 1st st. BPHDC in next st.* Repeat * to end. HDC in the turning chain. Turn, Ch 1. {40 FPHDC, 39 BPHDC, 1 HDC (42/41/1, 45/44/1)}

Row 3: *BPHDC in 1st st. FPHDC in next st.* Repeat * to end. HDC in the turning chain. Turn, Ch 1. {40 BPHDC, 39 FPHDC, 1 HDC (42/41/1, 45/44/1)}

Row 4-9: Repeat Row 2 and 3, alternately.

Row 10: Switch to 6 mm (larger) hook. DC BLO in 1st st. DC BLO in each st to end of row. Turn, Ch 1.  {80 DC (84, 90)}

Row 11: sk 1st st, Sc in 2nd st. *Ch 1, sk next st, Sc* Repeat * to end of row. Turn, change to color B, Ch 1. {40 Sc, 39 Ch (42/41, 45/44)}

Row 12: sk 1st st, Sc in next Ch 1 space. *Ch 1, sk next st, Sc in next Ch 1 space* Repeat * to end, ending with Sc in turning Ch. Turn, change to color A, Ch 1. {40 Sc, 39 Ch (42/41, 45/44)}

Row 13: Repeat row 12, without changing colors.

Row 14: DC FLO in 1st st. DC FLO in each st to end of row. Turn, Ch 1. {80 DC (84, 90)} 

Rows 15-22: Repeat rows 11-14 twice.

Row 23: Repeat row 11.

Row 24: Repeat row 12.

Row 25: Repeat row 13. (NOTE: To add extra slouch, repeat row 14 again, followed by 11, 12, and 13.)

Row 26: Switch to 5.5 mm (smaller) hook. Sc in each stitch to end of row. Turn, Ch 1. {80 Sc (84, 90)}

Row 27: Sc in 1st 3 stitches. *Sc 2 tog. Sc in next 3 st.* Repeat * to end of row. {64 Sc (68, 72)}

Row 28: Repeat Row 27. {52 Sc (55, 58)}  

Row 29: Sc in 1st st. *Sc2tog. Sc.* Repeat * to end of row. {35 Sc (37, 39)} 

Row 30: Repeat Row 29. {24 Sc (25, 26)}

 Leave a long tail, fasten off. Weave in the ends of the stripes that are hanging on the sides. Fold hat together with the wrong side facing out (wrong side has the DC near the brim in the back loop away from you.) Use the long tail you left to seam the hat from the top to the bottom using an invisible mattress stitch. 


Cut a length of yarn about 10 inches. Weave back and forth through the single crochet at the top of the hat. Pull tightly to cinch the hat together. Tie two or three knots. Put the remaining tails through your tapestry needle and criss cross over the hole a few times if necessary to cover the top. Weave the ends in and cut remaining. Turn right side out. 


Ok, that’s all I’ve got today! Whew, I’m tired. I think I’ll be happy when my next pattern is a quick little pair of earrings with only ONE size! 

August 9, 2020 by Priscilla

5 Perfect Ear Warmer Crochet Patterns

One of the best beginner crochet items to make is ear warmers! Crochet a small, simple rectangle, and easily seam it together to make a cozy headband that keeps your ears toasty warm in the chilly weather. The first one I ever made was for my mom, who taught me to crochet in the first place. Worsted weight or bulky weight yarn is nice for keeping the cold out. My new favorite yarn for ear warmers and hats is Red Heart Soft: it’s a worsted weight that is true to its name and has a good squish to it.

This Twisted Step-Sister Headband from Yarnspirations is that first one I ever made for my mom. The twist is a little tricky, but once you get it the first time, it’s not hard. The body of it is all double crochet, so it’s fast and easy.

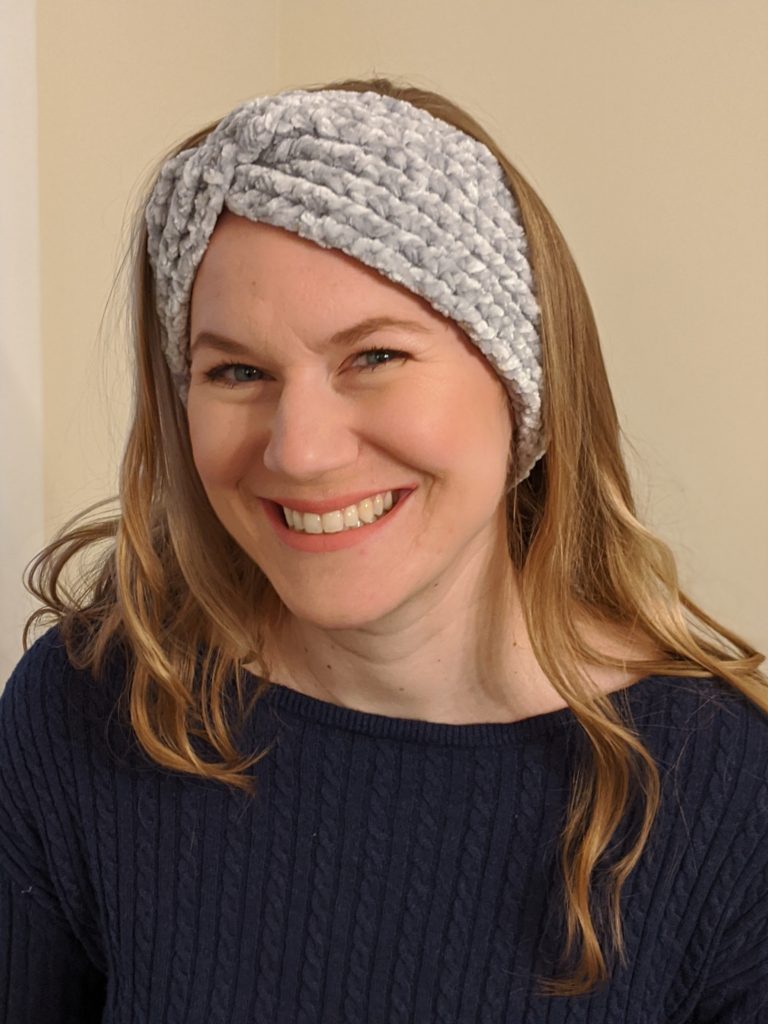
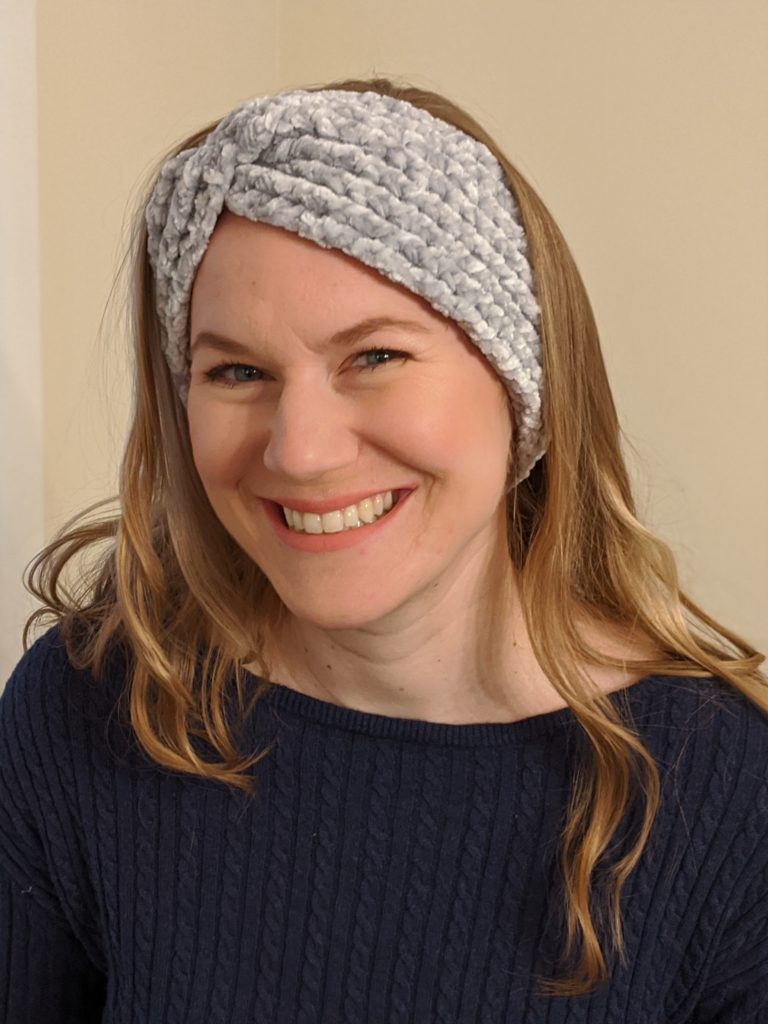
This Ribbed Velvet Twist pattern by Daisy Farm Crafts is so amazing! Truthfully, the velvet yarn is tricky to work with, so it’s not exactly easy, but the stitches are not complicated, it just takes a little extra hand strength. It’s so beautiful and soft, though, it’s totally worth the effort. I think I made at least 3 of these last winter as gifts. They have a BEAUTIFUL velvet hat pattern, too, that you should check out.

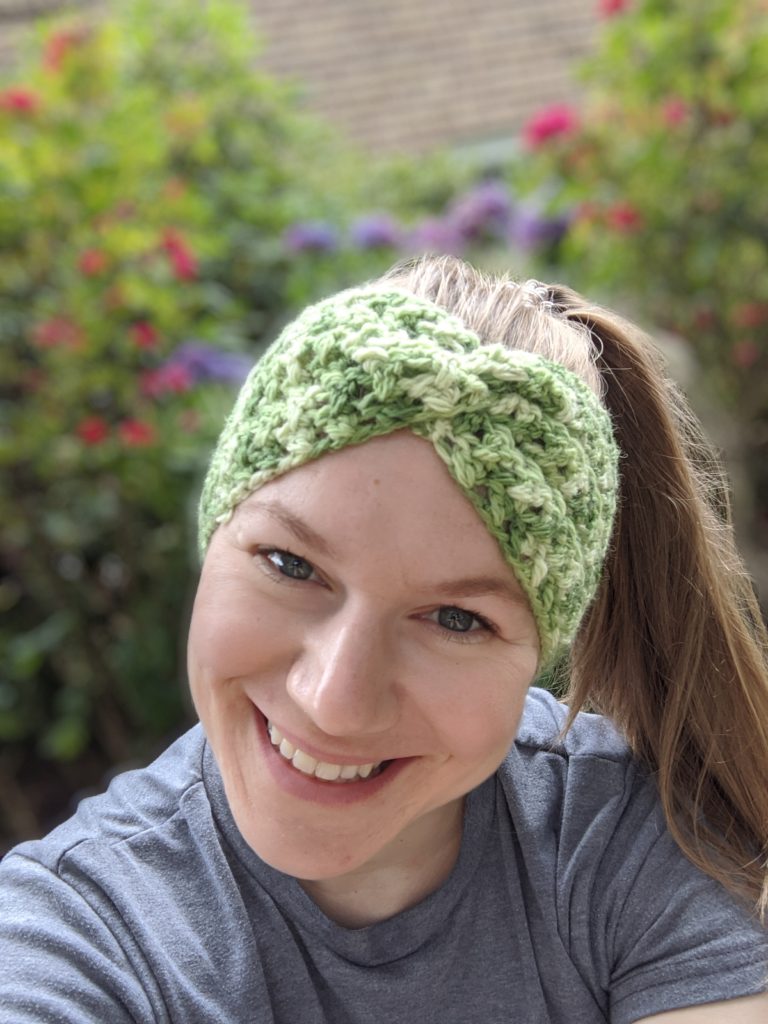
I recently tested the Grace Ear Warmer pattern for Amy at Another Mum Fights the Dust and I fell in love. It is so dang easy and quick. The texture is awesome and the twist is so on point. Amy has bunches of other great patterns, too, you should definitely check her site! I made two of these in July and it’s my new go-to pattern when I’m not ready to start a big project but I need something in my hands.

So cute, right?!
No doubt about it, I am a HAM in front of a camera.

Here are a two more beautiful ear warmer patterns that are on my “to make” list!

  • Faux-Bow Headband Pattern by Mama in a Stitch: I love her patterns! I made one of her sweaters in January and it turned out so great. This ear warmer is crocheted by creating a tube, then cinching the ends of the tubes and attaching them together to create the “bow.” It’s so cute! I think the double fabric on it would make it extra warm!
  • Charleigh Twist Headband Pattern by Crochetastic Boutique: The texture on this one is great! This is one that I would love in a few bright colors. This beginner pattern uses simple stitches to create a unique texture. This talented designer has a variety of lovely designs, so far from her collection I’ve made mug rugs and a cute purse!

Now I think I need to design my own headband for the fall! Maybe something in a bulky yarn that is a quick make…… or maybe a stripey one…..

March 7, 2020 by Priscilla

Simple Sewing Patterns for Beginners

So to let you know that I am not a sewing genius: my original intention for this post was to be a pattern/tutorial of my own! Alas the finished product does not look awesome, so it will be back to the drawing board, er sewing machine. In the meantime, I want to share these simple patterns that even I thought were easy! They can help you learn some sewing skills and feel the rush of accomplishment from making something yourself. (A feeling I am not having right now!)

First is this versatile and easy fleece hat pattern. I’ve actually even made it with a knit fabric once for a costume and it turned out nicely! This pattern is so easy to follow. The pattern pieces print on four sheets of paper. You trim and tape the sheets together. Then cut two pieces of fleece and follow the directions for sewing. It is a VERY forgiving pattern and one of the first things I ever made. I was making Pokemon costumes for my sons about 3 years ago and the pattern called for a complicated hood. I was having trouble with it and decided to hunt for an easy hat pattern and landed on this! There are many cool things you could do to personalize this hat. I just made a 101 Dalmatians one from fleece for my 6 yr old and it is becoming a favorite for wearing under a hood when it is very cold outside. The fleece website the pattern is from has many options, too!

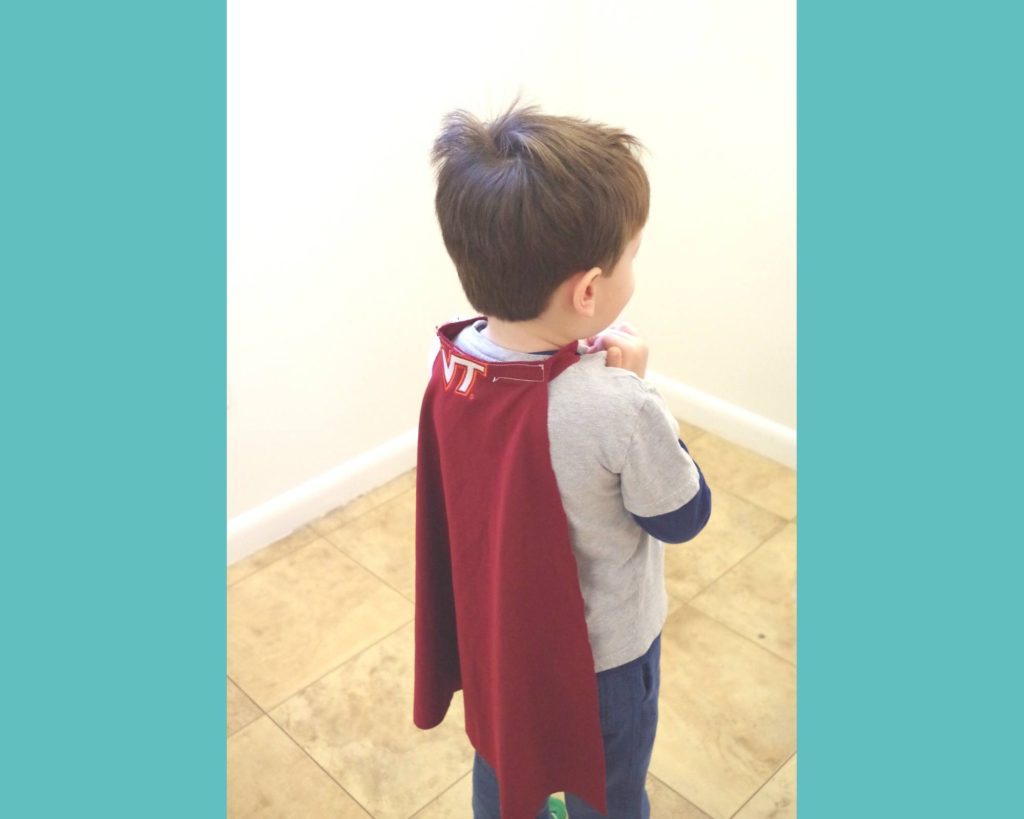
Next is this pattern for an adorable super hero cape for your little one! I had so much fun making these for my kids. The first one I made out of an old Virginia Tech shirt of my husbands and it was so cute! Since then I made a few for my nieces and I just made one this past Halloween to dress up my 4 year old like Batman. It was so cute and he just told me the other day he wants to take it for his next show and tell at school.

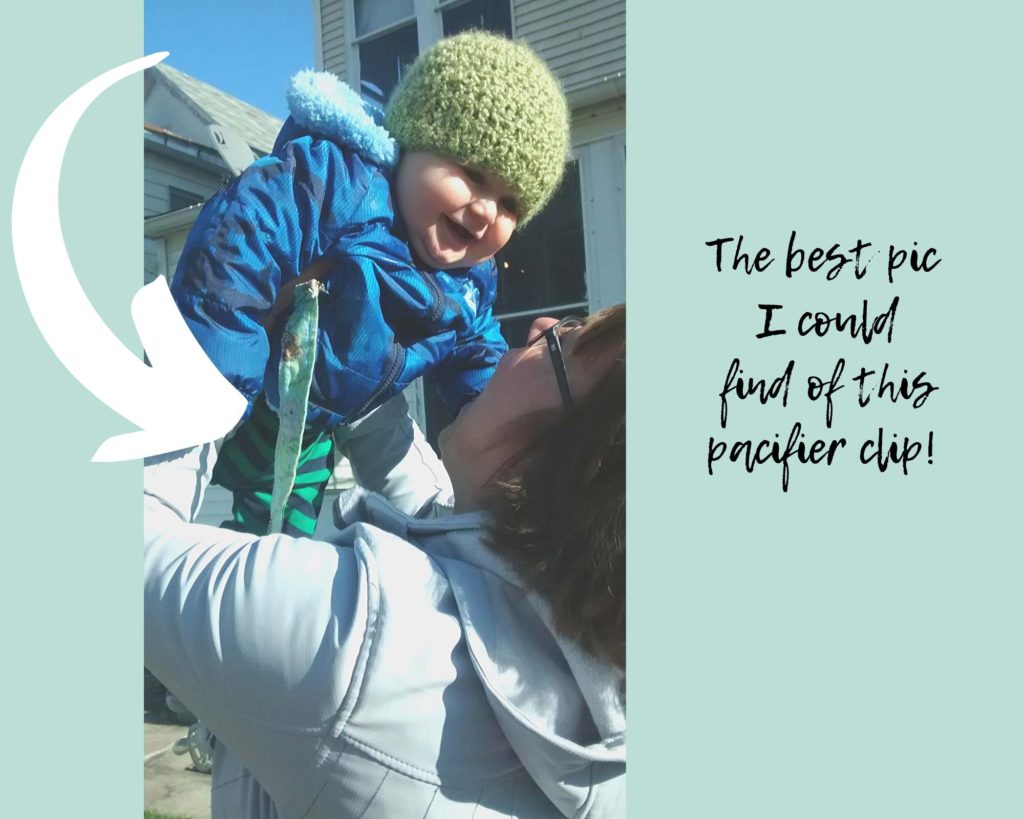
Baby items are fun to make and personalize them with funky fabric. I made a Mickey Mouse lovey blanket for a family member and it was very simple and one of my favorite makes. I also liked making this pacifier clip for my own baby and I think we actually used it with my third one as well. I liked the clip on it because it was strong but not easy for them to get pinched with.

My kids still love this tiny pillow I made for the first long car ride when they were little! It’s so easy and cozy. They play with their stuffed animals with it, sleep with it occasionally, and we’ve used it in the car many times. Somehow I’ve managed to not make anymore of them, but we are heading to the Outer Banks this summer for vacation and that means at least an 8 hour car ride so I think I better get busy!

My last one to share is a heat pack! I love this pattern and I’ve made so many. You can make them in all different sizes. In the fall, I made a new one for my dad and with the leftover scraps, I made two little bean bag sized ones for when my boys get an ear infection. My 3 year old won’t sleep without it right now as he and I both just can’t kick the sinus congestion from a cold!

What are some easy sewing patterns you like? Share them with me in the comments!

February 17, 2020 by Priscilla

DIY “Beautiful Stuff” Bird Feeder

DIY bird feeder
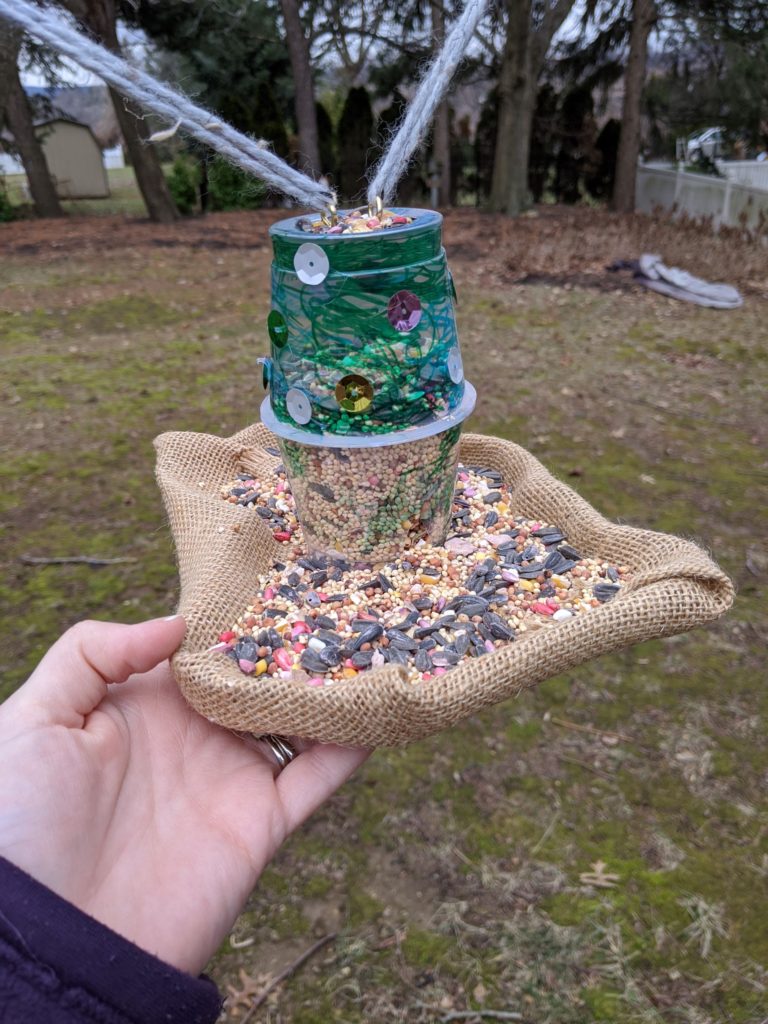
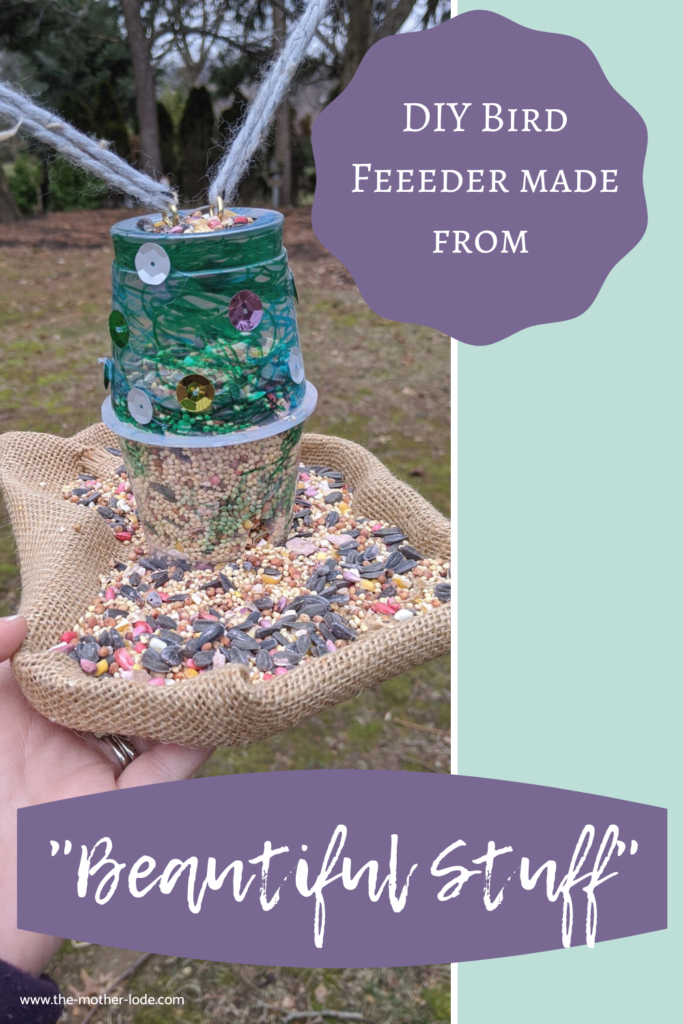
My DIY bird feeder made of recycled materials!

One of the things I love about our home is the trees in our yard! We have such a variety and I love how it feels like a forest in parts of the yard. I also really enjoy the birds! We’ve seen woodpeckers on the pine trees in the front yard, blue jays, chickadees, robins, and cardinals in the backyard. We’ve even had wild turkeys in our backyard! In the fall, the kids made pine cone bird feeders at school, and we used almond butter, pine cones, and birdseed to make some more to go with them. They look cute hanging from the magnolia tree in the yard. They are all nearly empty, now! It’s been great to watch the birds from the windows.

What seems like forever ago, I taught in a daycare in Virginia. The school was “Reggio-Emilia” based, which is similar to Montessori. We had a great art teacher there who taught me about “beautiful stuff.” This is a teaching idea from the book Beautiful Stuff: Learning with Found Materials by Cathy Weisman Topal and Lella Gandini. The gist of it is that found materials in nature, leftover scraps, recyclables can all be made into beautiful stuff: art, usable items, sculpture. I had students making cars from cardboard with milk top wheels, teachers used drink caps to create mosaics with their classes, etc. I loved it then, and I still love it. I am in the habit of keeping what I think of as beautiful stuff. Basically, if it can be hot-glued, painted, or colored with Sharpie markers, I will keep it for a “project.” (Honestly, I’m lucky my husband doesn’t throw my “beautiful stuff” out when I’m not home.) I love to make things out of old packaging like yogurt cups, soda bottles, clementine boxes, cardboard, etc.

burlap

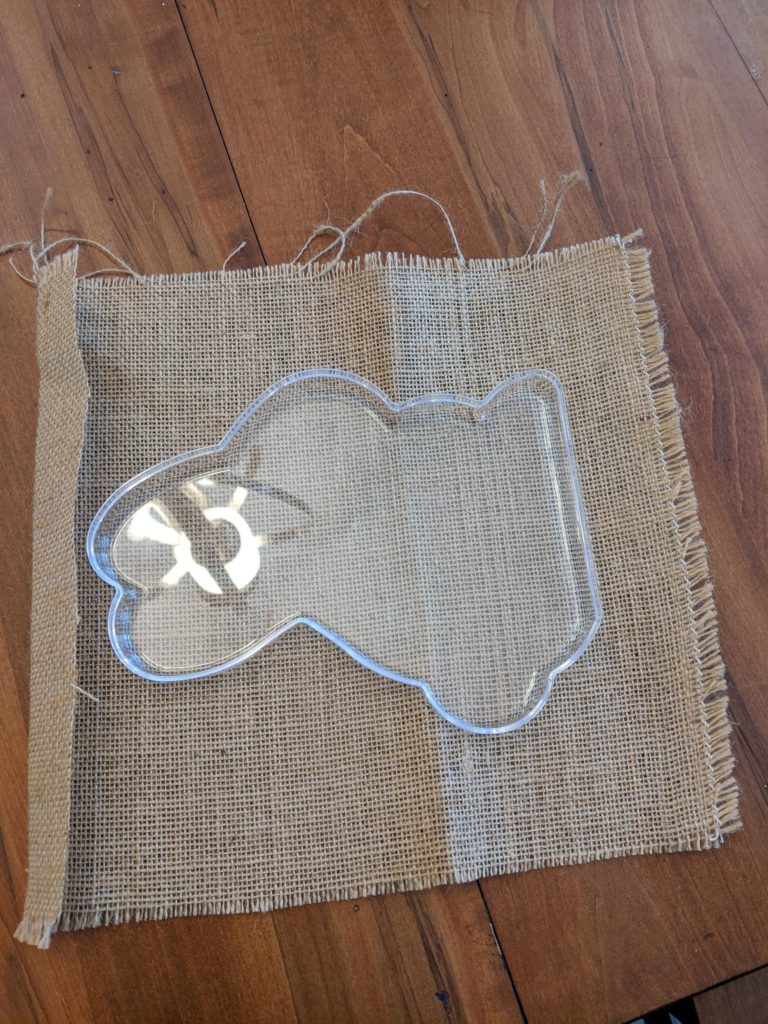
So my love for the birds and beautiful stuff collided this week to make a cute bird feeder! Last year I made a bird feeder from a soda bottle and a spoon and it turned out decent, but it didn’t work perfectly. This week, I made a better one! The kids and I used old yogurt cups to hold the bird seed, and the top from a plastic candy container (those hard plastic Ferrero Rocher ones.) It turned out so cute and it lets the bird seed out better. I’m hoping it keeps the birds coming and my boys happy as we watch them having a snack.

Materials list

  • empty, clean, yogurt cups (2)
  • bottom from Ferrero Rocher chocolates (anything that you can use as a tray for the birdseed to spill onto)
  • burlap (probably about a 12×12 inch square piece
  • hot glue gun
  • x-acto knife (you could probably use a box cutter razor, too, if its very sharp.)
  • sharpie markers
  • sequins
  • picture hanging kit pieces, yarn
  • birdseed
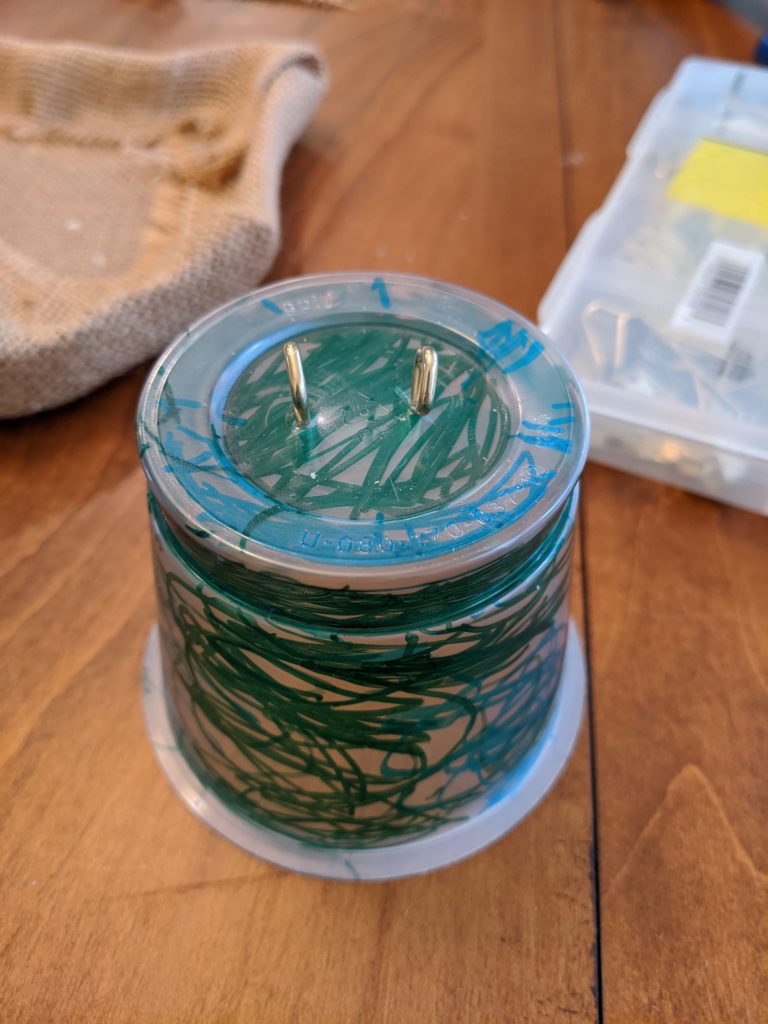
sharpie marker on yogurt cup
My little one’s Sharpie art. These picture hangers worked great for this project.

First, I let the kids draw on the yogurt cups with Sharpie markers. While they did that, I hot glued the burlap along the bottom and up onto the “tray” where the seed will spill. I didn’t worry about it being neat, as the birdseed will cover it. Once the kids were finished with their drawing, I used an x-acto knife to cut two triangles on each side of the bottom cup. The top cup got one triangle cut and bent instead of cut entirely out. This is where you can refill the feeder. I used picture hangers because that is what I had, but you could also cut small holes in the top and string the yarn through. I hot glued the bottom cup to the tray, then the top cup on top of that! I finished by hot gluing some big sequins that I bought simply because I have no self-control at the craft store. The kids immediately wanted to feed the birds, so we filled it up and went outside to hang it! I strung it between the branches so hopefully more birds will eat it and not just the fluffy tailed rats, I mean, squirrels. Have confidence in your crafting and you can DIY anything!

DIY BIRD FEEDER PIN

January 21, 2020 by Priscilla

5 Beginner Crochet Patterns

1.5 Hour Beanie by Make and Do Crew

I love the patterns from Make and Do Crew! They are fun and this one is so quick, you won’t believe it! I did change it a bit to use Caron Simply Soft yarn instead of the bulkier yarn that they used in the original pattern. This did make it take longer for me, but it was still quick to me! I usually make hats in the round which sometimes feels like it takes all of forever.

shows my version of the 1.5 hour beanie by Make and Do Crew
My oldest in the hat I made for his cousin that he desperately wanted for himself!

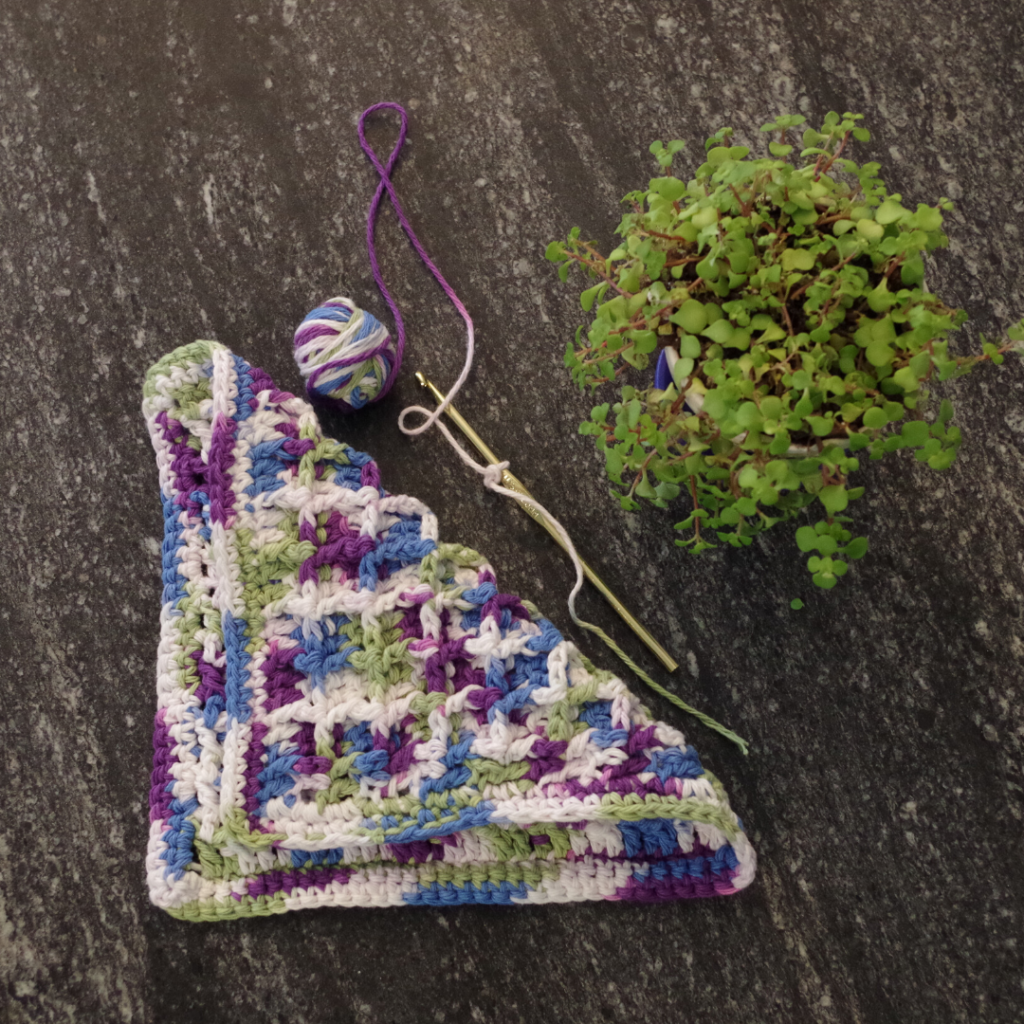
Waffle Dishcloth by Hooked on Tilly

I love this dishcloth as practice for Front Post Double Crochet. Since it is a dishcloth, I feel like the pressure is off to be perfect with your stitches, so this project is great for learning the Front Post Double Crochet (FPDC.) When you progress to making more complicated projects, particularly hats in the round and sweaters, the FPDC stitch is wonderful for adding ribbing at the edges, and is commonly used. I’m working on the finishing touches on my own hat pattern right now that has ribbing and it is turning out so cute!

Waffle dishcloth by Hooked on Tilly
My curated Instagram post, haha!

This one that I made has two extra rows of single crochet to make it a little bigger. I made it for my mother-in-law and she likes larger dishcloths.

Velvet Scrunchie by RthingsCreations on Sierra’s Crafty Creations Blog

Love these scrunchies! Velvet is definitely having a moment again and these scrunchies are a great way to wear it. I’ve made several and they are a quick, satisfying project. I will say that they are pretty tight on your hair when you make them with a regular hair-tie in the middle. You can make them a bit more loose by tying or sewing a length of elastic instead for the middle. That’s what I did. I actually intended to give them to my niece, but they are so comfortable, I may have to make more for her because I keep wearing them!

velvet scrunchie
My scrunchie selfie!

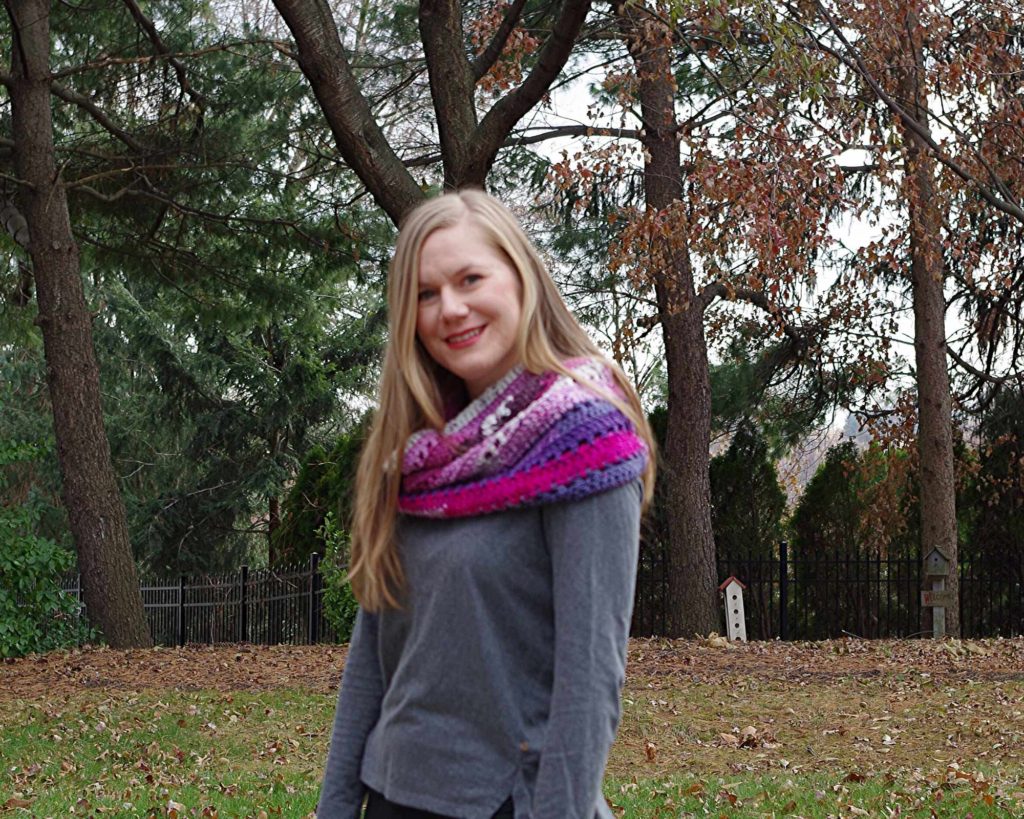
Chi-Town Crochet Cowl by Kathy Kelly (crochetbird)

I adore this pattern. It is so easy, particularly because gauge is not important, so if you are just starting out and learning the right tension, it is a great pattern. You only need two stitches: double crochet and single crochet. Another reason I like this pattern is that you can really use any yarn to make it! Seriously, I’ve used Lion Brand Homespun which is a bulky yarn as well as the Caron Simply Soft with lovely results.

my version of cowl by Crochet bird
Love the bright colors on this cowl. This yarn is from a Caron Cake.

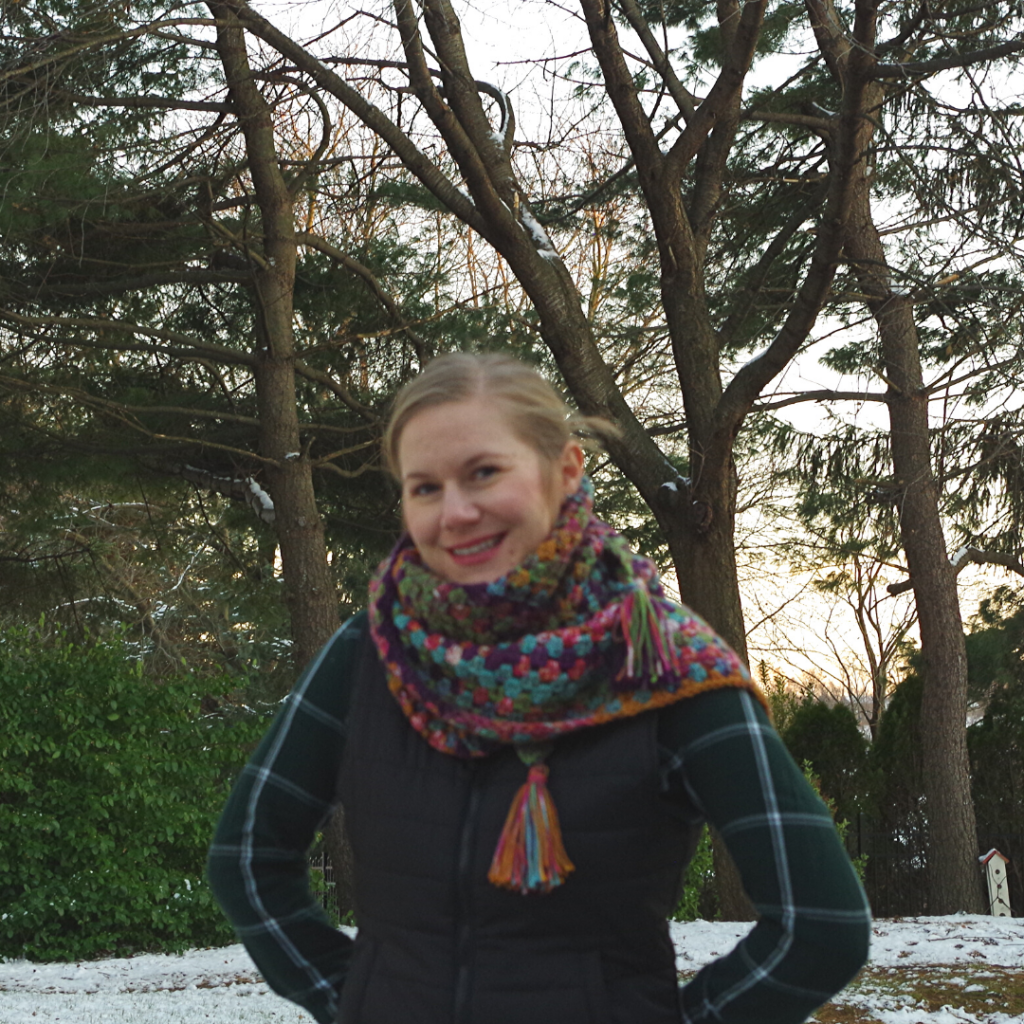
Crochet Triangle Wrap by Mama in a Stitch

This wrap is a great starter pattern. The gauge isn’t super-important and the stitches are easy. It is one of those projects which after a few rows you don’t need to look at the pattern anymore. (These are my favorite kind of patterns!) This wrap looks wonderful in a variegated color yarn. I also made one as a stash buster, using several leftover colors I had in the same type of yarn. I made two wraps this past fall and loved the way they turned out. One of them I made fairly small, then seamed the back to create a cowl and it turned out so pretty.

Granny triangle wrap
LOVE the way this one turned out. I particularly like the tassels, I have one more skein of this yarn somewhere and I want to make a matching hat!
granny triangle cowl
This is one of my favorite yarns (Lion Brand Homespun) and I had several small balls of it leftover from various projects which turned into this soft and beautiful cowl!

January 7, 2020 by Priscilla

The Tooth Fairy

Well, it happened. My oldest started losing his baby teeth and my husband and I started losing our minds that the kids are growing up.

A couple of months ago, the first one started wiggling. As the weeks went on and it became more loose, my 6 year old became more anxious. He often experiences nerves for unknown firsts like this. He was nervous that it would hurt, wondering when it was going to come out, etc. In order to turn his fears to excitement, my husband decided that the tooth fairy would bring our son a special “ticket” for a sleepover at my in-laws. I remember explicitly saying, “Oh is she?! Wow, that’s a pretty cool tooth fairy.” As I was inwardly thinking, “Well there has been neither consultation with the tooth fairy nor my in-laws on this ticket thing!” I will say that this did seem to calm my son’s fears and he thought it would be so awesome to get this “ticket,” which he mentioned repeatedly in the following weeks.

The tooth loosened even more, and one day my son came home from school with a little tooth locket necklace from his teacher. I knew my evening would now be spent on the computer to make sure the tooth fairy could bring him this “ticket.”

A week later, he lost his 2nd tooth and was rewarded with another “ticket,” this time for a trip to the park with his dad to play Pokemon Go. (You see what that tooth fairy did there, turning it back to the dad.)

I’ve decided to allow the tooth fairy to continue bringing “tickets” for teeth. (She also leaves a dollar.) I think it’s something that can grow with my children and can be easily done at the last minute which is in my wheelhouse! If you think the tooth fairy might want to bring your child a “ticket,” too, you can get the PDF, just click the image below!

  • « Previous Page
  • 1
  • …
  • 3
  • 4
  • 5
  • 6
  • Next Page »

Welcome! My name is Priscilla and I love designing crochet patterns for your family. I live in beautiful Pennsylvania where I enjoy all sorts of crafts, but I’m most passionate about crochet! I’m a Catholic mom of 4 and I sometimes incorporate my faith into my designs. Thank you so much for supporting me by visiting my crochet website and I hope you find something here that you are excited to make.

Recent Posts

  • Soft Crochet Hat Pattern
  • Cozy Men’s Scarf Crochet Pattern
  • Bulky Textured Beanie Crochet Pattern
  • Cozy Fall Baby Beanie Pattern
  • Spider Basket Crochet Pattern

Categories

Follow Me

  • Etsy
  • Facebook
  • Instagram
  • Pinterest
  • YouTube

Pretty Chic Theme By: Pretty Darn Cute Design