The Mother Lode

Crafts and Crochet

  • Home
  • Crochet Pattern Library
  • Faith Based Patterns
  • About Me
  • Privacy Policy

February 17, 2020 by Priscilla

DIY “Beautiful Stuff” Bird Feeder

DIY bird feeder
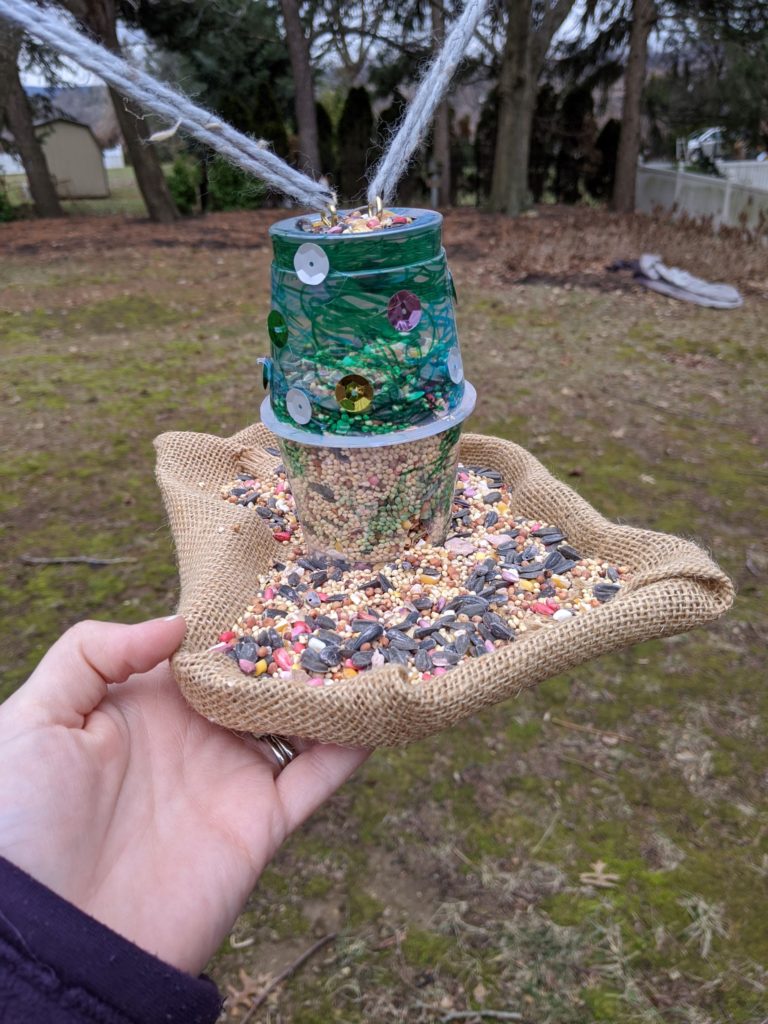
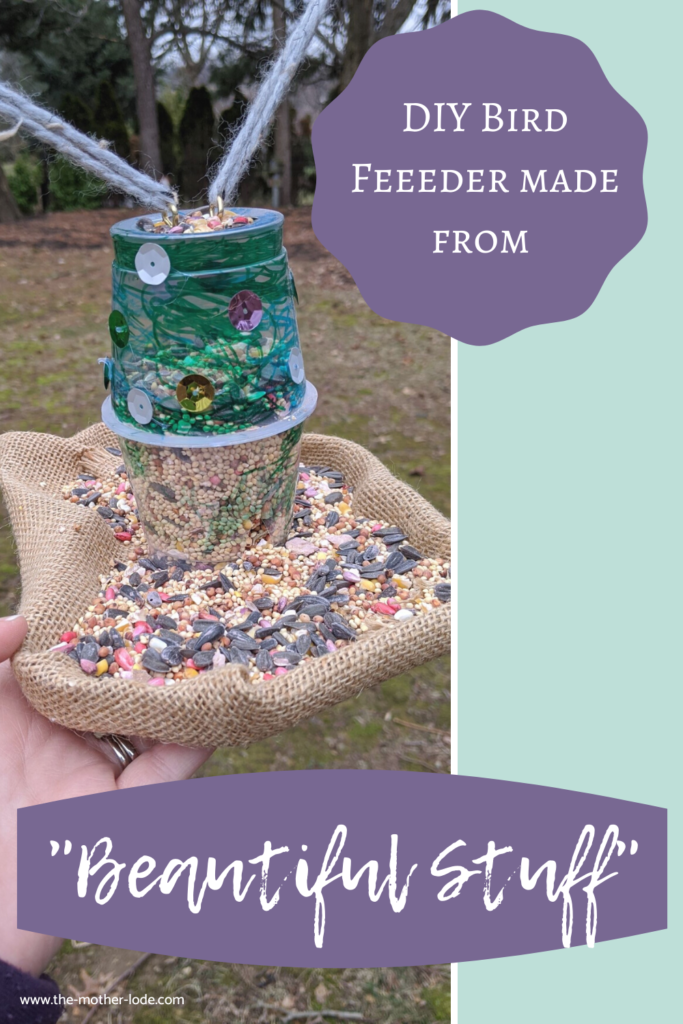
My DIY bird feeder made of recycled materials!

One of the things I love about our home is the trees in our yard! We have such a variety and I love how it feels like a forest in parts of the yard. I also really enjoy the birds! We’ve seen woodpeckers on the pine trees in the front yard, blue jays, chickadees, robins, and cardinals in the backyard. We’ve even had wild turkeys in our backyard! In the fall, the kids made pine cone bird feeders at school, and we used almond butter, pine cones, and birdseed to make some more to go with them. They look cute hanging from the magnolia tree in the yard. They are all nearly empty, now! It’s been great to watch the birds from the windows.

What seems like forever ago, I taught in a daycare in Virginia. The school was “Reggio-Emilia” based, which is similar to Montessori. We had a great art teacher there who taught me about “beautiful stuff.” This is a teaching idea from the book Beautiful Stuff: Learning with Found Materials by Cathy Weisman Topal and Lella Gandini. The gist of it is that found materials in nature, leftover scraps, recyclables can all be made into beautiful stuff: art, usable items, sculpture. I had students making cars from cardboard with milk top wheels, teachers used drink caps to create mosaics with their classes, etc. I loved it then, and I still love it. I am in the habit of keeping what I think of as beautiful stuff. Basically, if it can be hot-glued, painted, or colored with Sharpie markers, I will keep it for a “project.” (Honestly, I’m lucky my husband doesn’t throw my “beautiful stuff” out when I’m not home.) I love to make things out of old packaging like yogurt cups, soda bottles, clementine boxes, cardboard, etc.
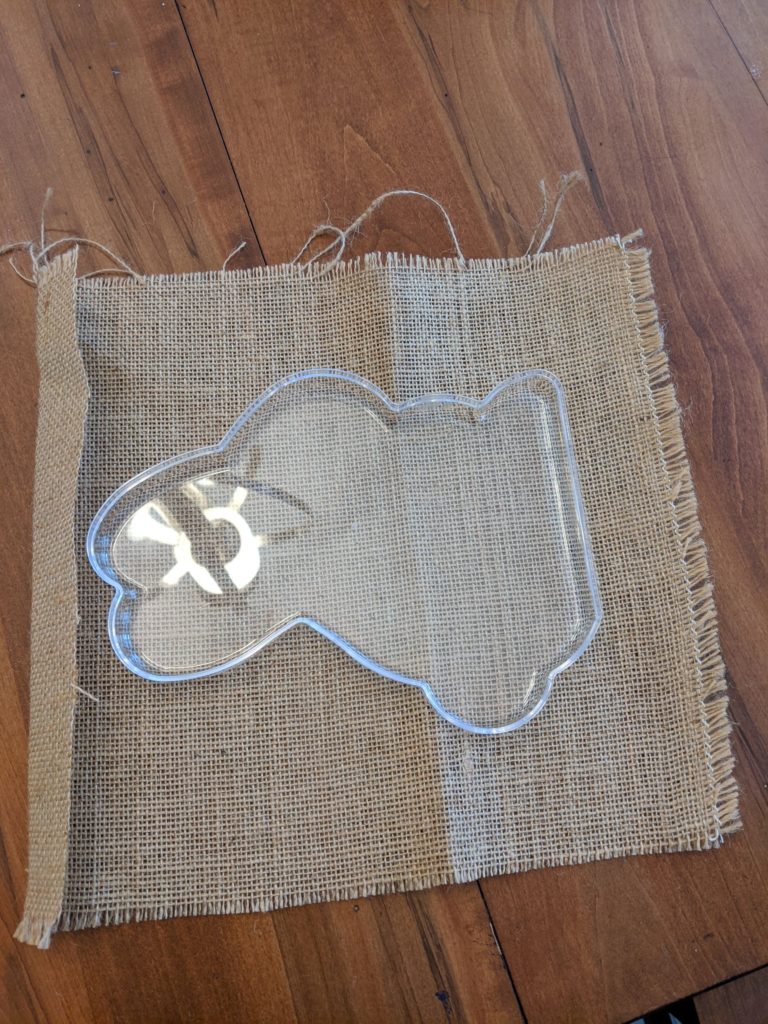
burlap

So my love for the birds and beautiful stuff collided this week to make a cute bird feeder! Last year I made a bird feeder from a soda bottle and a spoon and it turned out decent, but it didn’t work perfectly. This week, I made a better one! The kids and I used old yogurt cups to hold the bird seed, and the top from a plastic candy container (those hard plastic Ferrero Rocher ones.) It turned out so cute and it lets the bird seed out better. I’m hoping it keeps the birds coming and my boys happy as we watch them having a snack.

Materials list

  • empty, clean, yogurt cups (2)
  • bottom from Ferrero Rocher chocolates (anything that you can use as a tray for the birdseed to spill onto)
  • burlap (probably about a 12×12 inch square piece
  • hot glue gun
  • x-acto knife (you could probably use a box cutter razor, too, if its very sharp.)
  • sharpie markers
  • sequins
  • picture hanging kit pieces, yarn
  • birdseed
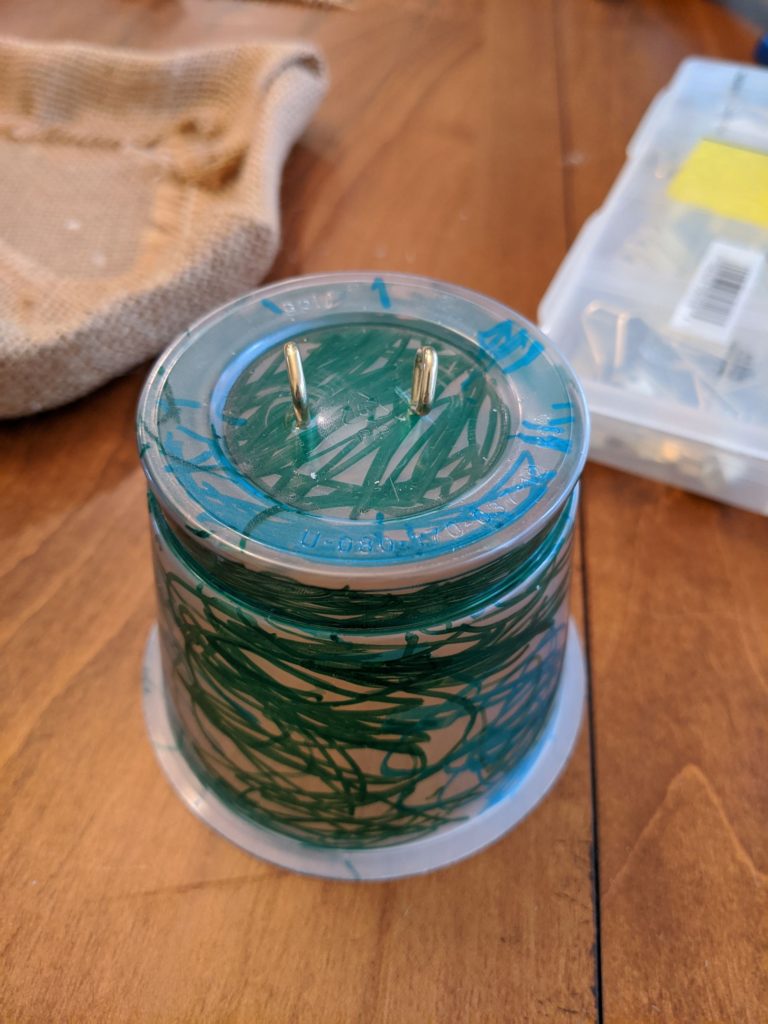
sharpie marker on yogurt cup
My little one’s Sharpie art. These picture hangers worked great for this project.

First, I let the kids draw on the yogurt cups with Sharpie markers. While they did that, I hot glued the burlap along the bottom and up onto the “tray” where the seed will spill. I didn’t worry about it being neat, as the birdseed will cover it. Once the kids were finished with their drawing, I used an x-acto knife to cut two triangles on each side of the bottom cup. The top cup got one triangle cut and bent instead of cut entirely out. This is where you can refill the feeder. I used picture hangers because that is what I had, but you could also cut small holes in the top and string the yarn through. I hot glued the bottom cup to the tray, then the top cup on top of that! I finished by hot gluing some big sequins that I bought simply because I have no self-control at the craft store. The kids immediately wanted to feed the birds, so we filled it up and went outside to hang it! I strung it between the branches so hopefully more birds will eat it and not just the fluffy tailed rats, I mean, squirrels. Have confidence in your crafting and you can DIY anything!
DIY BIRD FEEDER PIN

Love it? Share it!

  • Share on X (Opens in new window) X
  • Share on Facebook (Opens in new window) Facebook
  • Share on Pinterest (Opens in new window) Pinterest
  • Print (Opens in new window) Print

January 21, 2020 by Priscilla

5 Beginner Crochet Patterns

1.5 Hour Beanie by Make and Do Crew

I love the patterns from Make and Do Crew! They are fun and this one is so quick, you won’t believe it! I did change it a bit to use Caron Simply Soft yarn instead of the bulkier yarn that they used in the original pattern. This did make it take longer for me, but it was still quick to me! I usually make hats in the round which sometimes feels like it takes all of forever.

shows my version of the 1.5 hour beanie by Make and Do Crew
My oldest in the hat I made for his cousin that he desperately wanted for himself!

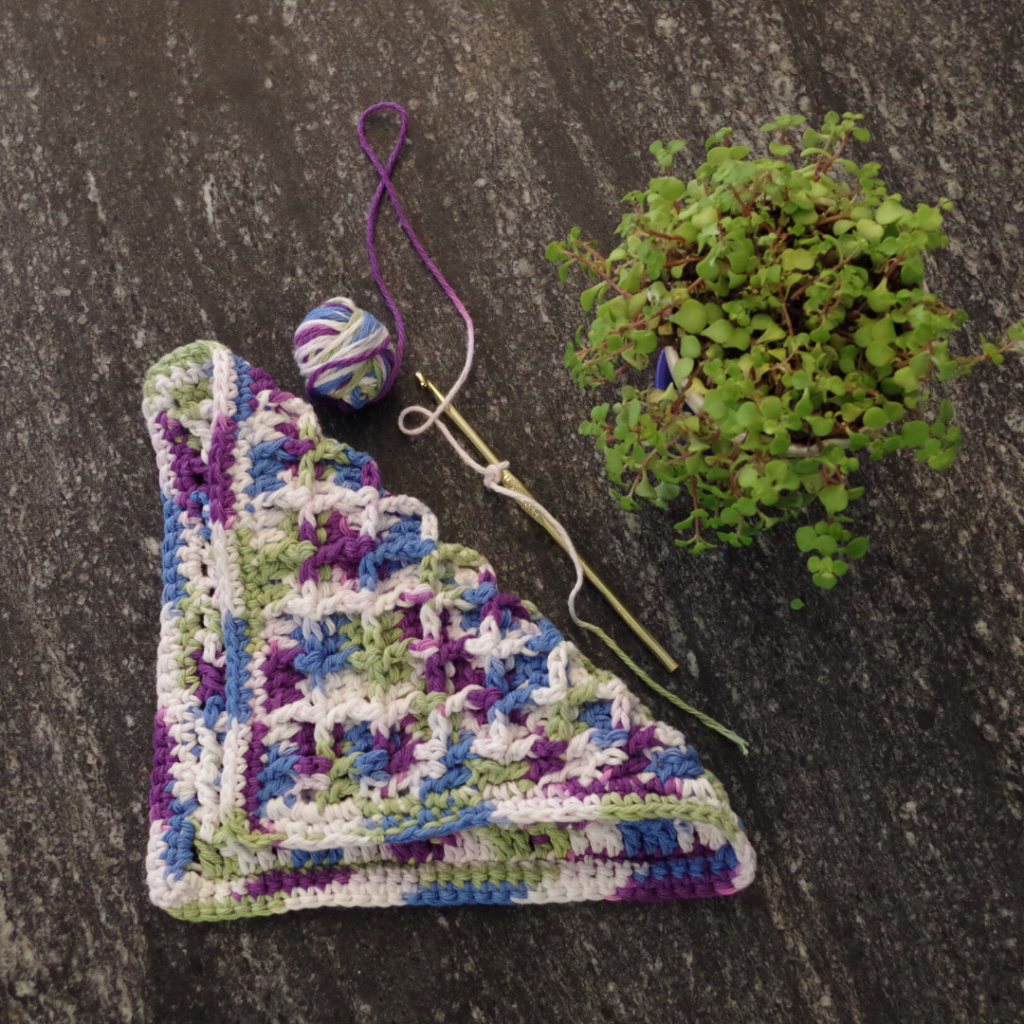
Waffle Dishcloth by Hooked on Tilly

I love this dishcloth as practice for Front Post Double Crochet. Since it is a dishcloth, I feel like the pressure is off to be perfect with your stitches, so this project is great for learning the Front Post Double Crochet (FPDC.) When you progress to making more complicated projects, particularly hats in the round and sweaters, the FPDC stitch is wonderful for adding ribbing at the edges, and is commonly used. I’m working on the finishing touches on my own hat pattern right now that has ribbing and it is turning out so cute!

Waffle dishcloth by Hooked on Tilly
My curated Instagram post, haha!

This one that I made has two extra rows of single crochet to make it a little bigger. I made it for my mother-in-law and she likes larger dishcloths.

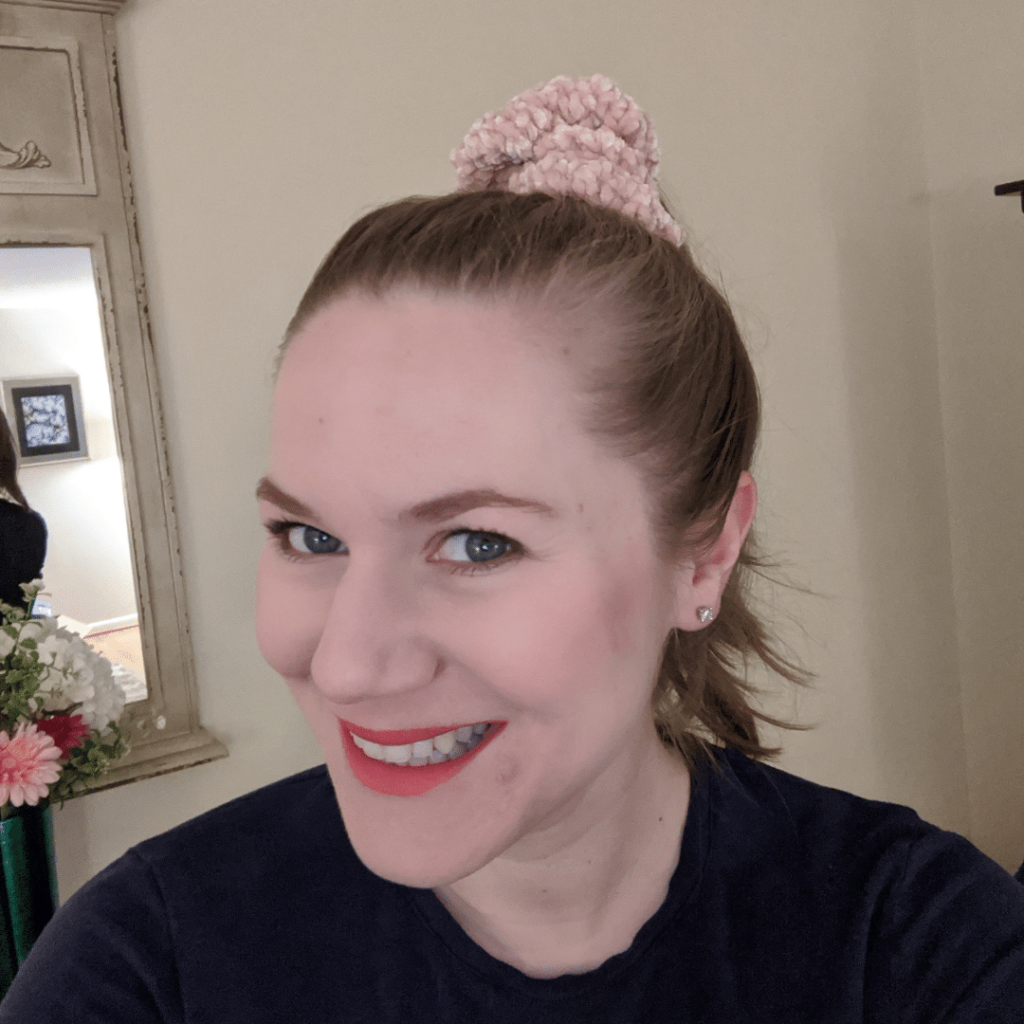
Velvet Scrunchie by RthingsCreations on Sierra’s Crafty Creations Blog

Love these scrunchies! Velvet is definitely having a moment again and these scrunchies are a great way to wear it. I’ve made several and they are a quick, satisfying project. I will say that they are pretty tight on your hair when you make them with a regular hair-tie in the middle. You can make them a bit more loose by tying or sewing a length of elastic instead for the middle. That’s what I did. I actually intended to give them to my niece, but they are so comfortable, I may have to make more for her because I keep wearing them!

velvet scrunchie
My scrunchie selfie!

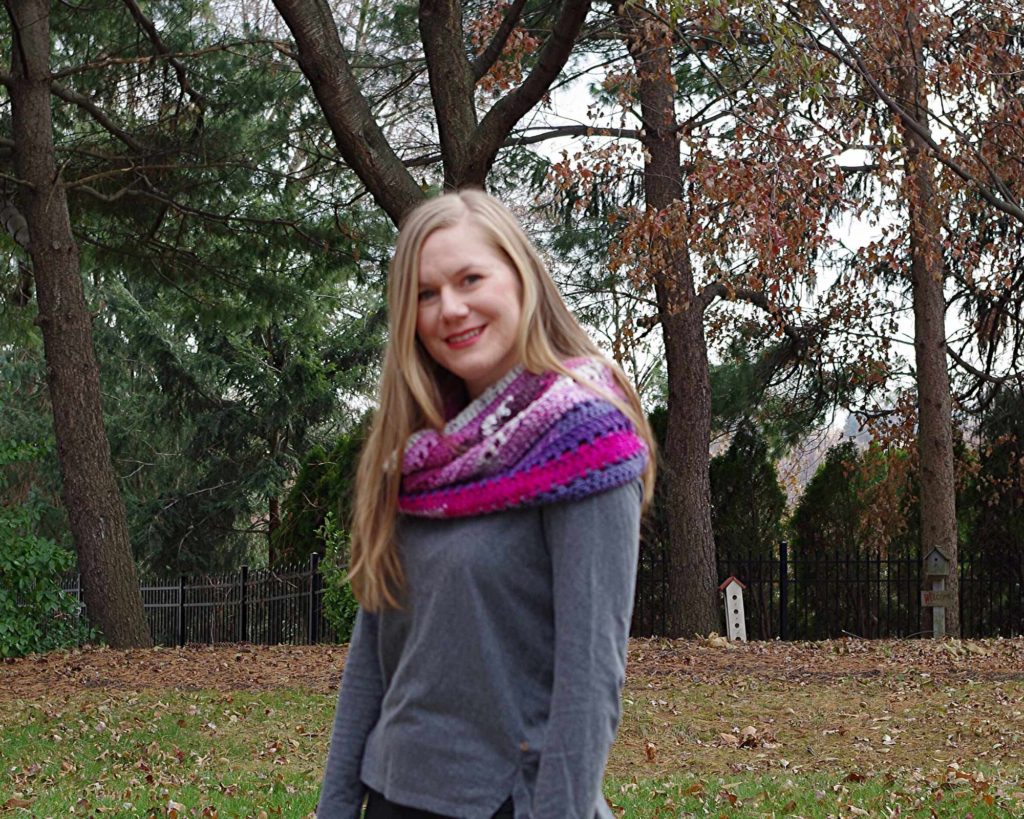
Chi-Town Crochet Cowl by Kathy Kelly (crochetbird)

I adore this pattern. It is so easy, particularly because gauge is not important, so if you are just starting out and learning the right tension, it is a great pattern. You only need two stitches: double crochet and single crochet. Another reason I like this pattern is that you can really use any yarn to make it! Seriously, I’ve used Lion Brand Homespun which is a bulky yarn as well as the Caron Simply Soft with lovely results.

my version of cowl by Crochet bird
Love the bright colors on this cowl. This yarn is from a Caron Cake.

Crochet Triangle Wrap by Mama in a Stitch

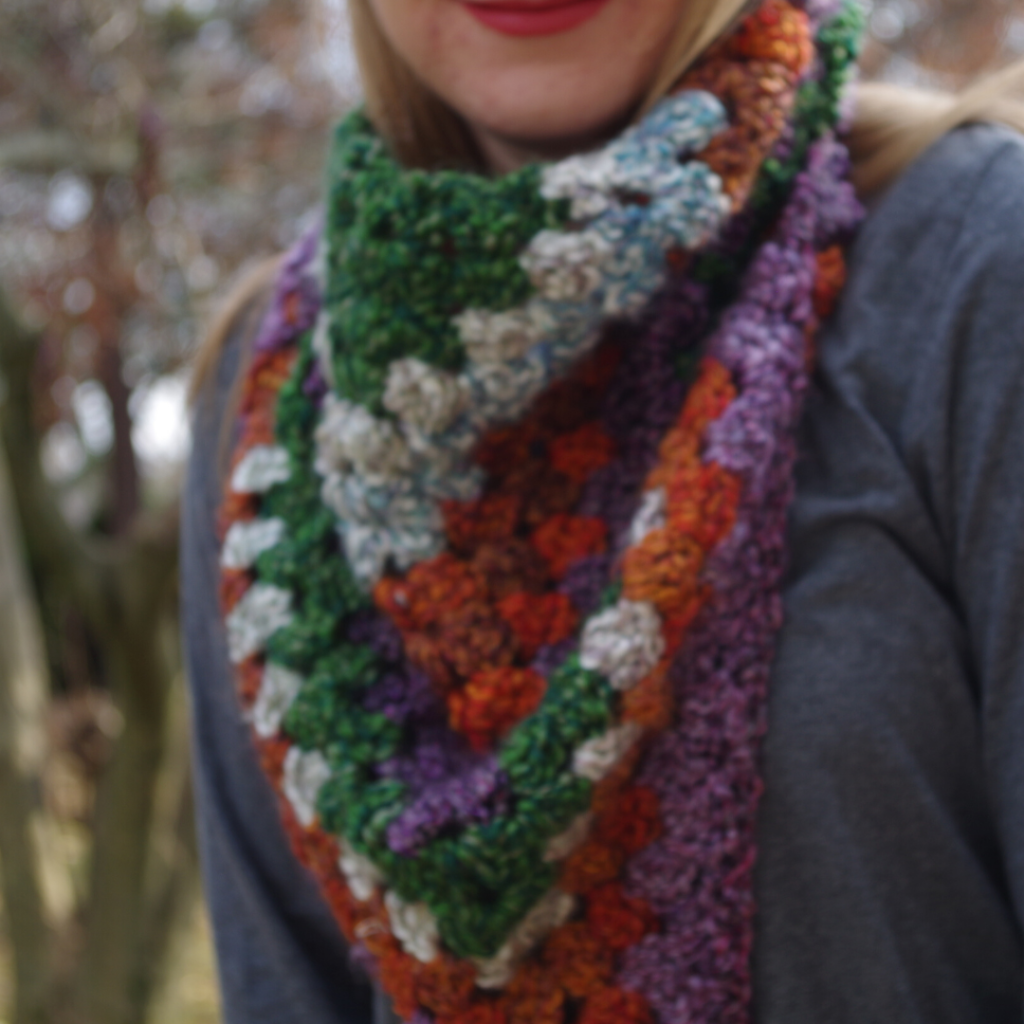
This wrap is a great starter pattern. The gauge isn’t super-important and the stitches are easy. It is one of those projects which after a few rows you don’t need to look at the pattern anymore. (These are my favorite kind of patterns!) This wrap looks wonderful in a variegated color yarn. I also made one as a stash buster, using several leftover colors I had in the same type of yarn. I made two wraps this past fall and loved the way they turned out. One of them I made fairly small, then seamed the back to create a cowl and it turned out so pretty.

Granny triangle wrap
LOVE the way this one turned out. I particularly like the tassels, I have one more skein of this yarn somewhere and I want to make a matching hat!
granny triangle cowl
This is one of my favorite yarns (Lion Brand Homespun) and I had several small balls of it leftover from various projects which turned into this soft and beautiful cowl!

Love it? Share it!

  • Share on X (Opens in new window) X
  • Share on Facebook (Opens in new window) Facebook
  • Share on Pinterest (Opens in new window) Pinterest
  • Print (Opens in new window) Print

January 7, 2020 by Priscilla

The Tooth Fairy

Well, it happened. My oldest started losing his baby teeth and my husband and I started losing our minds that the kids are growing up.

A couple of months ago, the first one started wiggling. As the weeks went on and it became more loose, my 6 year old became more anxious. He often experiences nerves for unknown firsts like this. He was nervous that it would hurt, wondering when it was going to come out, etc. In order to turn his fears to excitement, my husband decided that the tooth fairy would bring our son a special “ticket” for a sleepover at my in-laws. I remember explicitly saying, “Oh is she?! Wow, that’s a pretty cool tooth fairy.” As I was inwardly thinking, “Well there has been neither consultation with the tooth fairy nor my in-laws on this ticket thing!” I will say that this did seem to calm my son’s fears and he thought it would be so awesome to get this “ticket,” which he mentioned repeatedly in the following weeks.

The tooth loosened even more, and one day my son came home from school with a little tooth locket necklace from his teacher. I knew my evening would now be spent on the computer to make sure the tooth fairy could bring him this “ticket.”

A week later, he lost his 2nd tooth and was rewarded with another “ticket,” this time for a trip to the park with his dad to play Pokemon Go. (You see what that tooth fairy did there, turning it back to the dad.)

I’ve decided to allow the tooth fairy to continue bringing “tickets” for teeth. (She also leaves a dollar.) I think it’s something that can grow with my children and can be easily done at the last minute which is in my wheelhouse! If you think the tooth fairy might want to bring your child a “ticket,” too, you can get the PDF, just click the image below!

Love it? Share it!

  • Share on X (Opens in new window) X
  • Share on Facebook (Opens in new window) Facebook
  • Share on Pinterest (Opens in new window) Pinterest
  • Print (Opens in new window) Print

October 26, 2018 by Priscilla

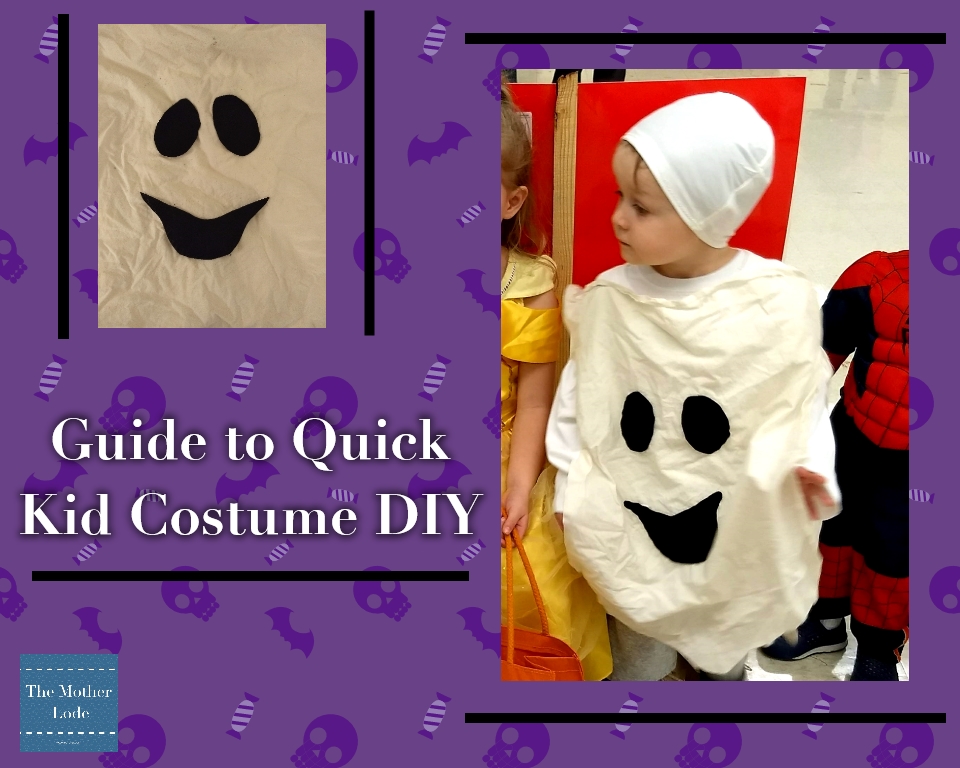
Guide to Quick Kid Costume DIY

Halloween is coming! I love dressing the kids up in fun costumes. (I may also enjoy dressing us all up as a family.) This year I admittedly wasn’t into it. We recently moved and My sewing supplies are completely disorganized. SO we are going with a re-wear for my youngest with an alligator we had and a hand-me-down lion costume for my oldest from my in-laws.

My 3 year old son on the other hand is determined to be a ghost. Everything I could purchase is too scary, so I knew I was going to break down and use the sewing machine. I thought I had a white fleece blanket somewhere in my giant pile of fabrics to be recycled and it was NOWHERE to be found. I moved to Plan B and found the bride of Frankenstein I had made on the fly for myself two years ago. It was an old long sleeve white t shirt with a long strip of fabric attached at the shoulders and two long pieces attached at the back. I basically trimmed it to fit my son, hand stitched a felt face on, and made a VERY fast white hat. DONE. It was seriously a total of 45 minutes to accomplish this and he loves it. Here are my tips for easy ways to throw your own costume together!

  1. Re-use old costumes in a different way (Like I did, cutting up an old costume and adding different elements.)
  2. Think about what everyday items you have on hand that could be used. I’m thinking cotton balls (steam, animal fluff), aluminum foil (candy, robot), plastic bags/newspaper (to stuff and reshape clothing)
  3. Search the house for old clothing that no one is wearing. What can you do with that old pair of pink corduroy pants? (I turned mine into a piglet costume a few years ago for my then 6 month old.)  
  4. What fun costume only requires regular clothing and a headpiece that you could make with hot glue, some felt, and a cheap headband or hat from the dollar store? I’m thinking animals and TV characters.
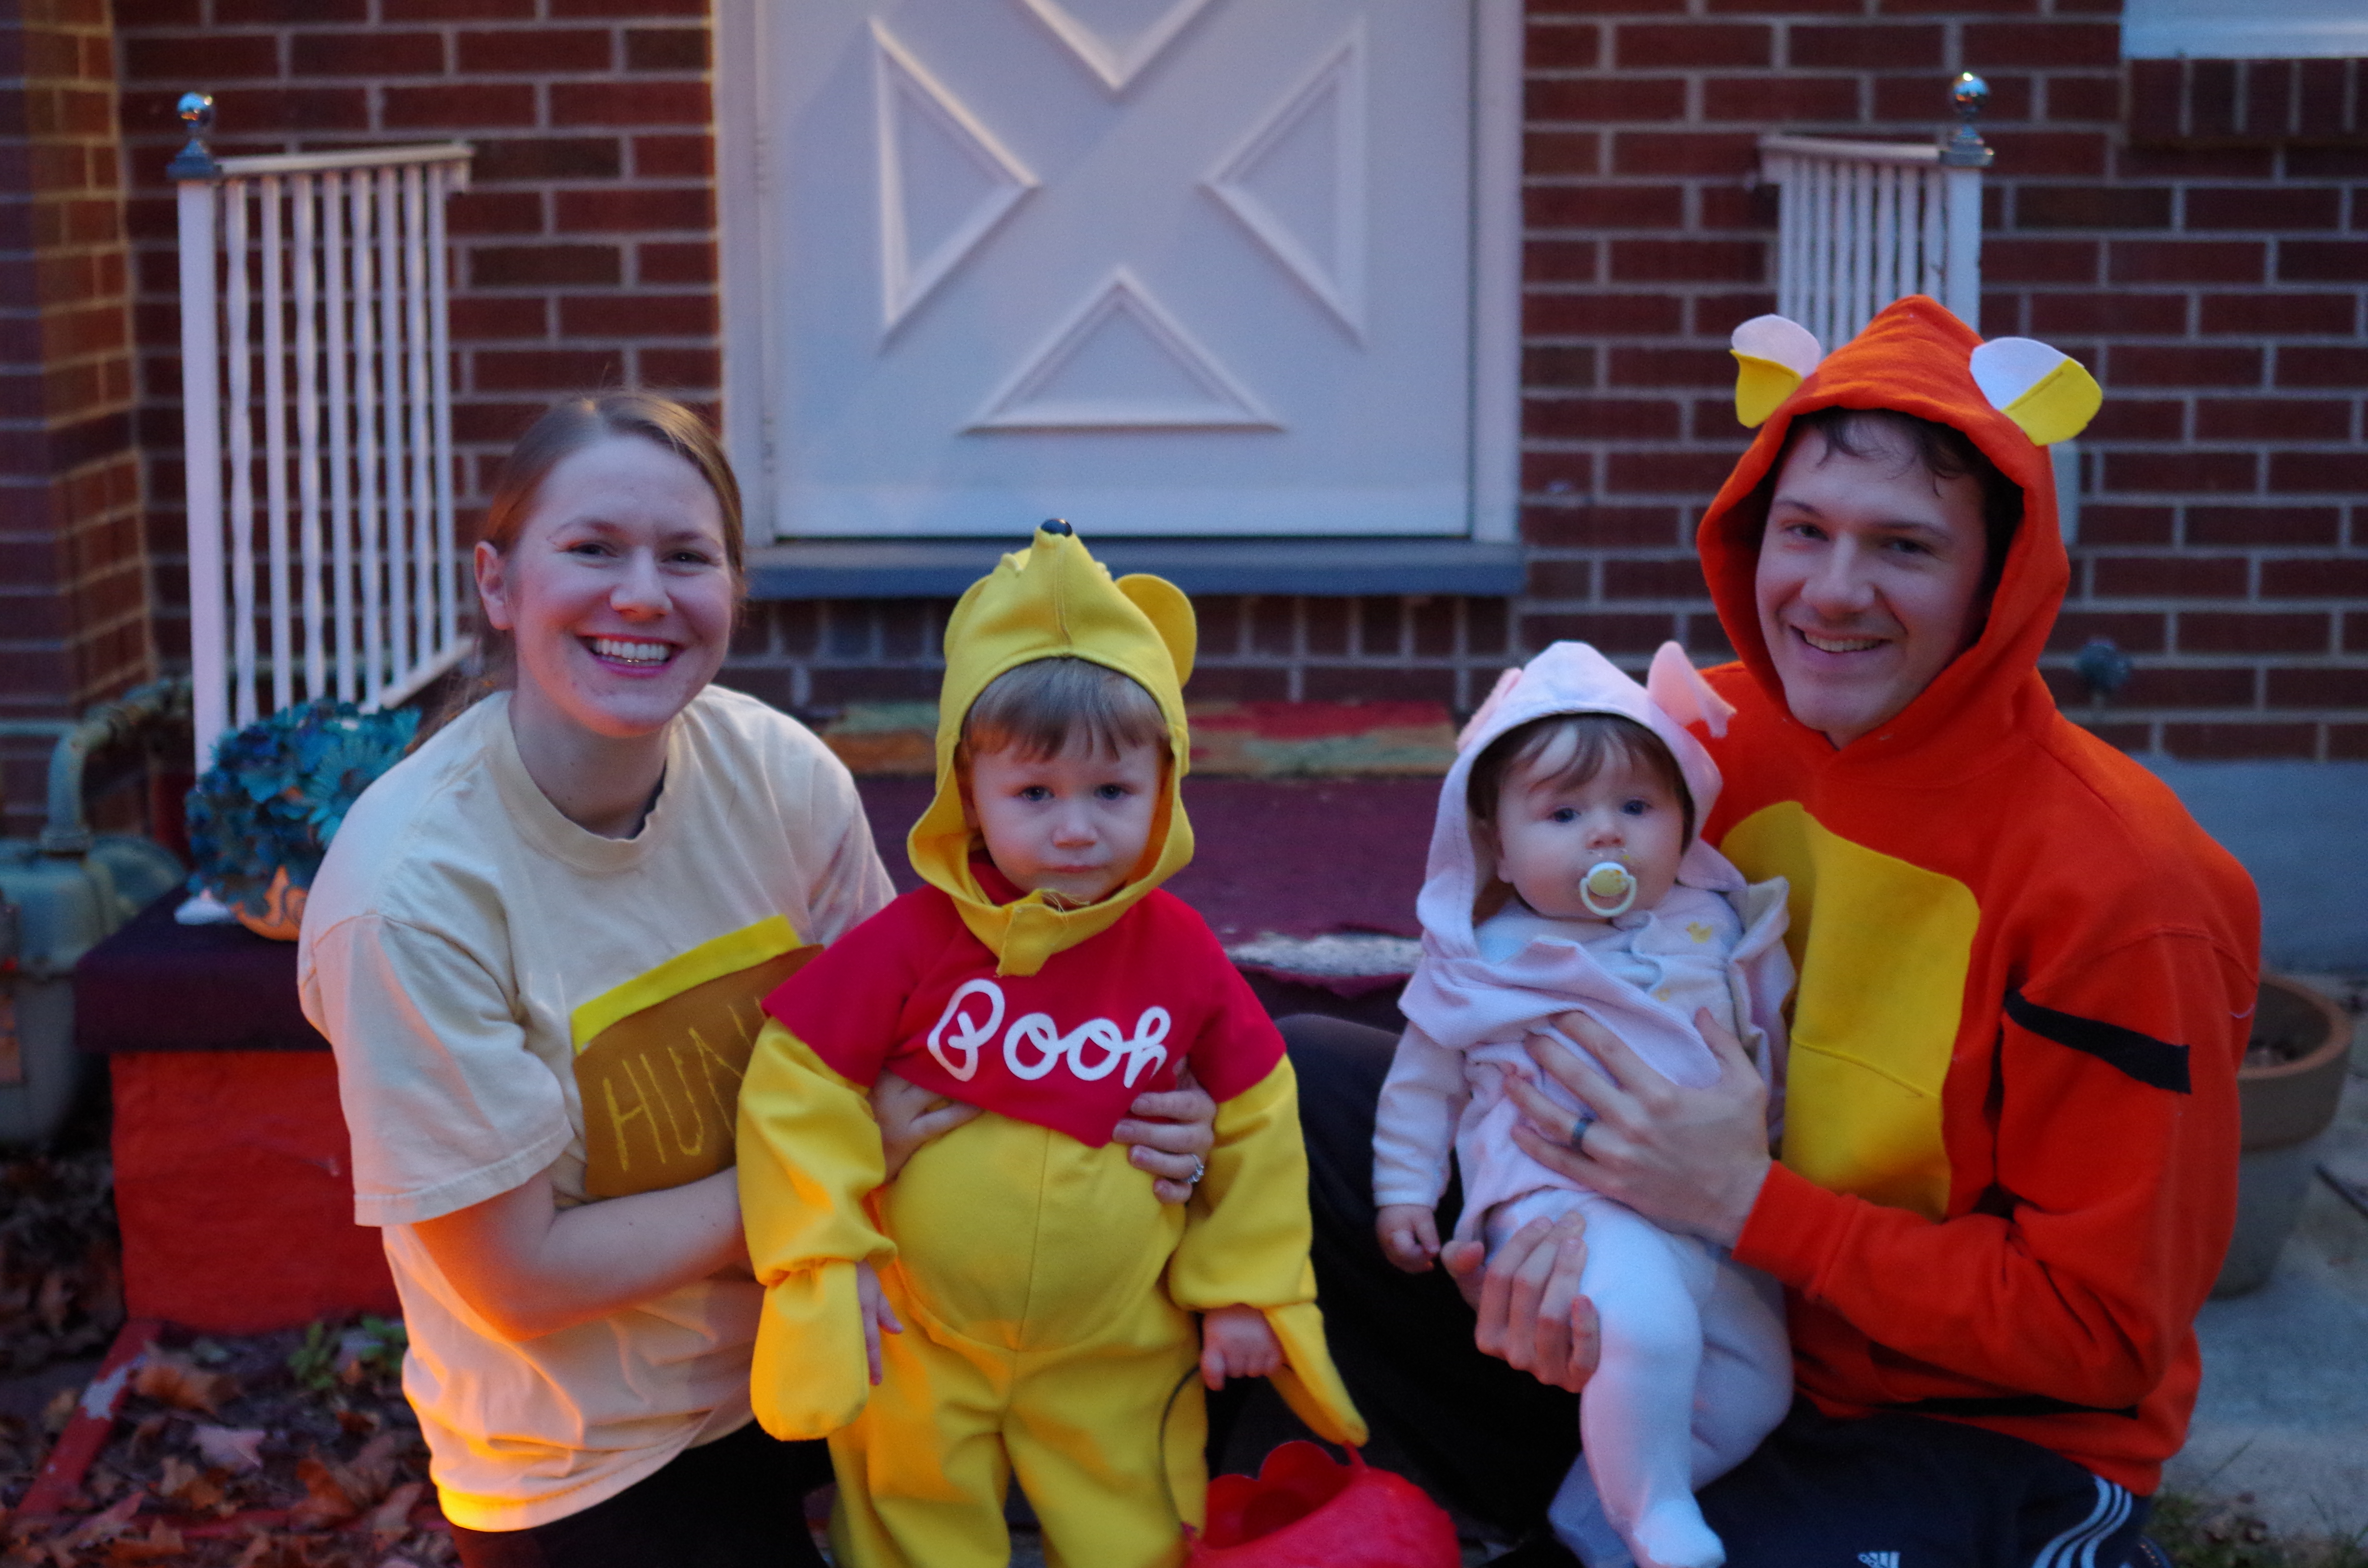
  5. Hot glue and felt are your friends. I made Tigger and a honey pot one year solely by hot gluing felt onto old clothing. (We had a Winnie the Pooh theme, clearly.)
  6. Hats are unbelievably simple to sew. Cut two pieces from the pattern and run through the sewing machine four times. That’s it! Here is the link for an easy, free, downloadable pattern from Fleece Fun. I made fleece ones last year for my kids Pokémon costumes and yesterday whipped up a white one with scrap pieces of knit and that worked, also! 

Comment with some of your ideas for easy costume DIY! 

Our family as Winnie the Pooh (re-used from my hubby’s childhood), Piglet (made out of old pink corduroy pants), Tigger and the “Hunny” pot made from old shirts, felt, and hot glue. 

Love it? Share it!

  • Share on X (Opens in new window) X
  • Share on Facebook (Opens in new window) Facebook
  • Share on Pinterest (Opens in new window) Pinterest
  • Print (Opens in new window) Print

July 22, 2016 by Priscilla

Make it yourself: Toddler Travel Pillow

In anticipation of our road trip to my husband’s family reunion this past weekend, I had decided to add one more little thing to the list of “must complete before Friday.” It’s true: I am insane. To my surprise, it only took about 20 minutes to sew a cozy travel pillow for my toddler. So perhaps I am only partially insane! Additionally, he absolutely loved it and had to use it while he watched Sesame Street. It was great to have in the car for when he fell asleep since it was a long 4 1/2 hours. Some may like the U shaped travel pillows, but I like this one because I wasn’t sure if he would really keep a U shape around his neck. This was easy to slide and re-position to wherever his head lolled after falling asleep.

IMGP7817

To make this little pillow, you need some cozy fabric and fiberfill stuffing. I used some fleece, but any soft fabric would be fine. Cut the fabric to a rectangle 10 inches by 12 inches.

IMGP7806

I went ahead and made a little pattern so that the next time I make one I can pin it and cut it quickly. Once the fabric is cut, fold it in half hot dog style, then pin the right sides together. Sew all three sides, leaving about half of the third side open for stuffing.

the-mother-lode toddler travel pillow

Cut the corners (and any excess fabric because you didn’t have the cuts even like me) and turn right side out. Stuff with the fiberfill to your liking. Fold the edges of the hold in and press lightly. Sew closed with an invisible ladder stitch.

IMGP7812

IMGP7813


And there you have it: a little toddler travel pillow! Now if only it were as easy and simple to get your toddler to sleep in the car for most of the trip!


Love it? Share it!

  • Share on X (Opens in new window) X
  • Share on Facebook (Opens in new window) Facebook
  • Share on Pinterest (Opens in new window) Pinterest
  • Print (Opens in new window) Print

July 5, 2016 by Priscilla

DIY Comforting Heat Pillow

Many years ago, my mom bought a heating pad for my dad at a kiosk at the mall. It was made of blue fabric with stars and moons on it, and was shaped to drape around your shoulders. He warmed it in the microwave and it smelled pretty terrible. However, my dad LOVED it. He would warm it up in the evening when his shoulders were tight or even if just when he was cold. Eventually, the blue pad was either misplaced or fell apart. A couple of years ago, I decided to make him a new one! I followed a tutorial from the blog An Oregon Cottage. It turned out well, he really likes it, and it smells good!

A while back (I honestly cannot remember when) my sister-in-law was talking about some back pain she was having. I asked if she ever used a heating pad, and she told me that she borrowed one from her mom every now and then. I picked out some fabric that I thought she would like and months later I finally made her a heat pillow! If you have aches and pains (and a sewing machine), you should make one, too! I haven’t been sewing for very long and I was able to complete this project easily (once I had some time when the kids were napping and there weren’t piles of dirty dishes/clothes/toys everywhere.) I changed a bit from the original tutorial, since I didn’t love the finishing on the first one.

How to begin:

Cut a pattern from paper of a 12 inch by 20 inch rectangle. Use this to cut out your fabric. You should choose a fabric that is 100% cotton (so it won’t catch fire or anything in the microwave.) Thicker broadcloth and home decor fabrics are best.

IMGP7756

Fold the fabric in half lengthwise with right sides together. Sew together beginning on one of the short sides, putting in a few backstitches to keep it together. Stop a bit before the corner, lift the presser foot up, turn the fabric and continue sewing the long side. Turn the next corner and sew halfway up the short side, then stop, again with a few backstitches.

IMGP7758

Cut the corners off a bit so they won’t make for a bulky corner. Turn right side out. Fill about halfway with flaxseed. (I like flaxseed because it doesn’t burn in the microwave and it creates a nice, moist heat that is helpful for aching muscles.) Fiddle around with it to figure out how much you like, as too empty won’t keep the heat in as well and too full will be hard. I also add about 1/4 cup of dried lavender. You don’t have to, but it smells nice!

IMGP7762

Finally use a ladder stitch to close the hole up. I learned this stitch while fixing some stuffed animals that were torn. It is a great way to hide the hole and it honestly isn’t that hard, especially with this thick fabric. It takes about five minutes to learn from a few YouTube videos. I like this one:


Once you stitch it closed, you are finished!

IMGP7768 Diy warming pillow www.the-mother-lode.com

When you are ready to use it, heat it in the microwave about 45 seconds. Give it a shake, then heat another 20 seconds until it feels warm enough to soothe what ails you.


Love it? Share it!

  • Share on X (Opens in new window) X
  • Share on Facebook (Opens in new window) Facebook
  • Share on Pinterest (Opens in new window) Pinterest
  • Print (Opens in new window) Print
  • « Previous Page
  • 1
  • …
  • 5
  • 6
  • 7

Welcome! My name is Priscilla and I love designing crochet patterns for your family. I live in beautiful Pennsylvania where I enjoy all sorts of crafts, but I’m most passionate about crochet! I’m a Catholic mom of 4 and I sometimes incorporate my faith into my designs. Thank you so much for supporting me by visiting my crochet website and I hope you find something here that you are excited to make.

Recent Posts

  • Cozy Fall Baby Beanie Pattern
  • Spider Basket Crochet Pattern
  • Lacy Edged Crochet Shawl Pattern
  • Crochet Gingerbread Earring Pattern
  • Classic Hairbow Crochet Pattern

Categories

Follow Me

  • Etsy
  • Facebook
  • Instagram
  • Pinterest
  • YouTube

Pretty Chic Theme By: Pretty Darn Cute Design